
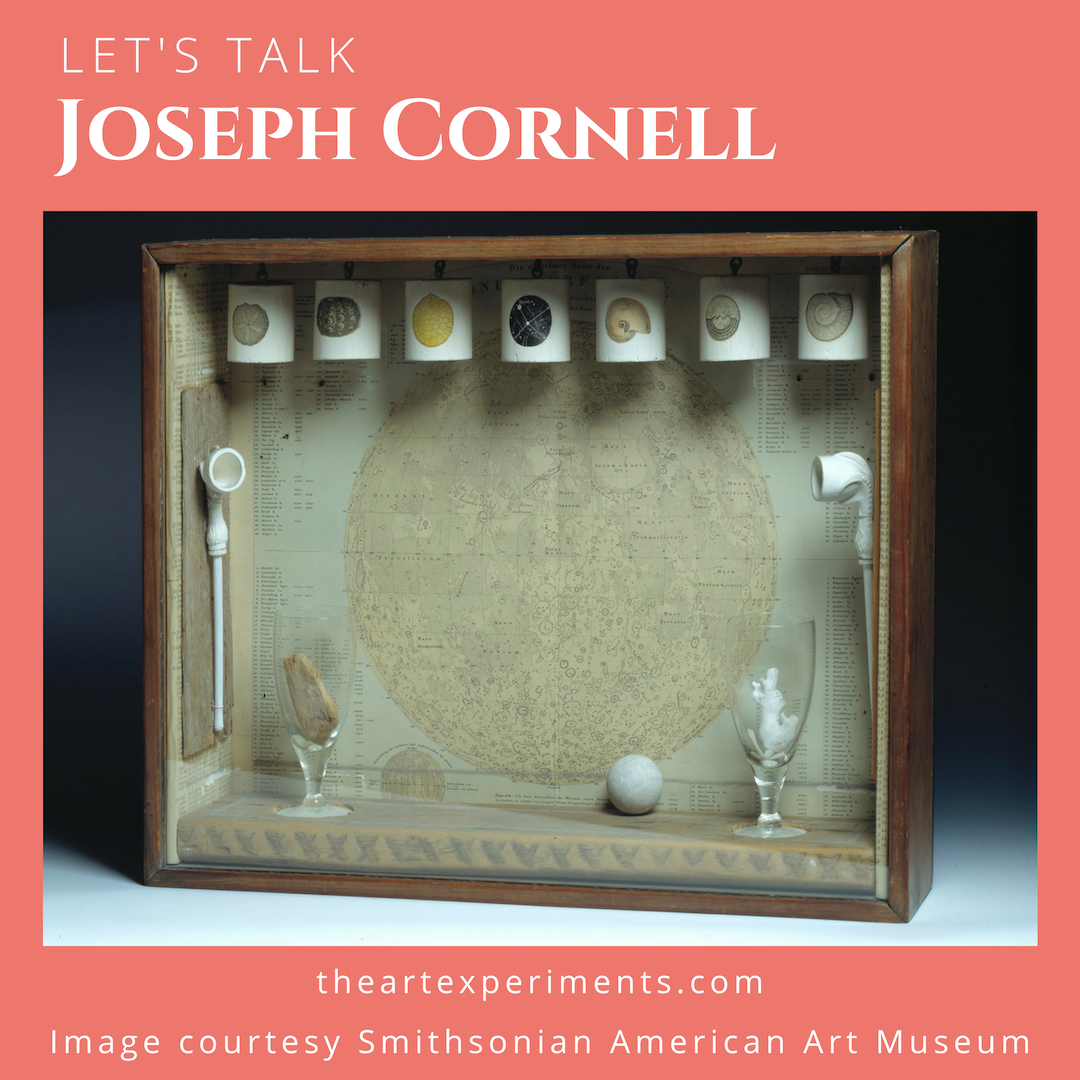
Create your own shadow box like Joseph Cornell.

My girls were very excited to assemble their own boxes. They immediately started gathering random things from around the house – dictated by the size of the box. Seeing that made me realize I hadn’t explained Cornell’s process very well.

His boxes are carefully curated; they aren’t a hodgepodge of random articles. He collected and cataloged things he found interesting and then, maybe, eventually, found the right place for them. He was purposeful.

So my girls and I talked again and brainstormed different ideas. One child’s box tells a story she made up, another is one of her dreams. My third child’s box is like a dollhouse, which is an ongoing work in progress because she plays with it.


Because we don’t have stores of things we are planning to use in a shadow box like Cornell did, we used things we already had that fit into the ideas we’d conceived, then went looking for specific items we wanted. For all of the boxes, I purchased the supplies to make my box, their boxes, and the “milk.” Everything else we had on hand or found while on a hike.
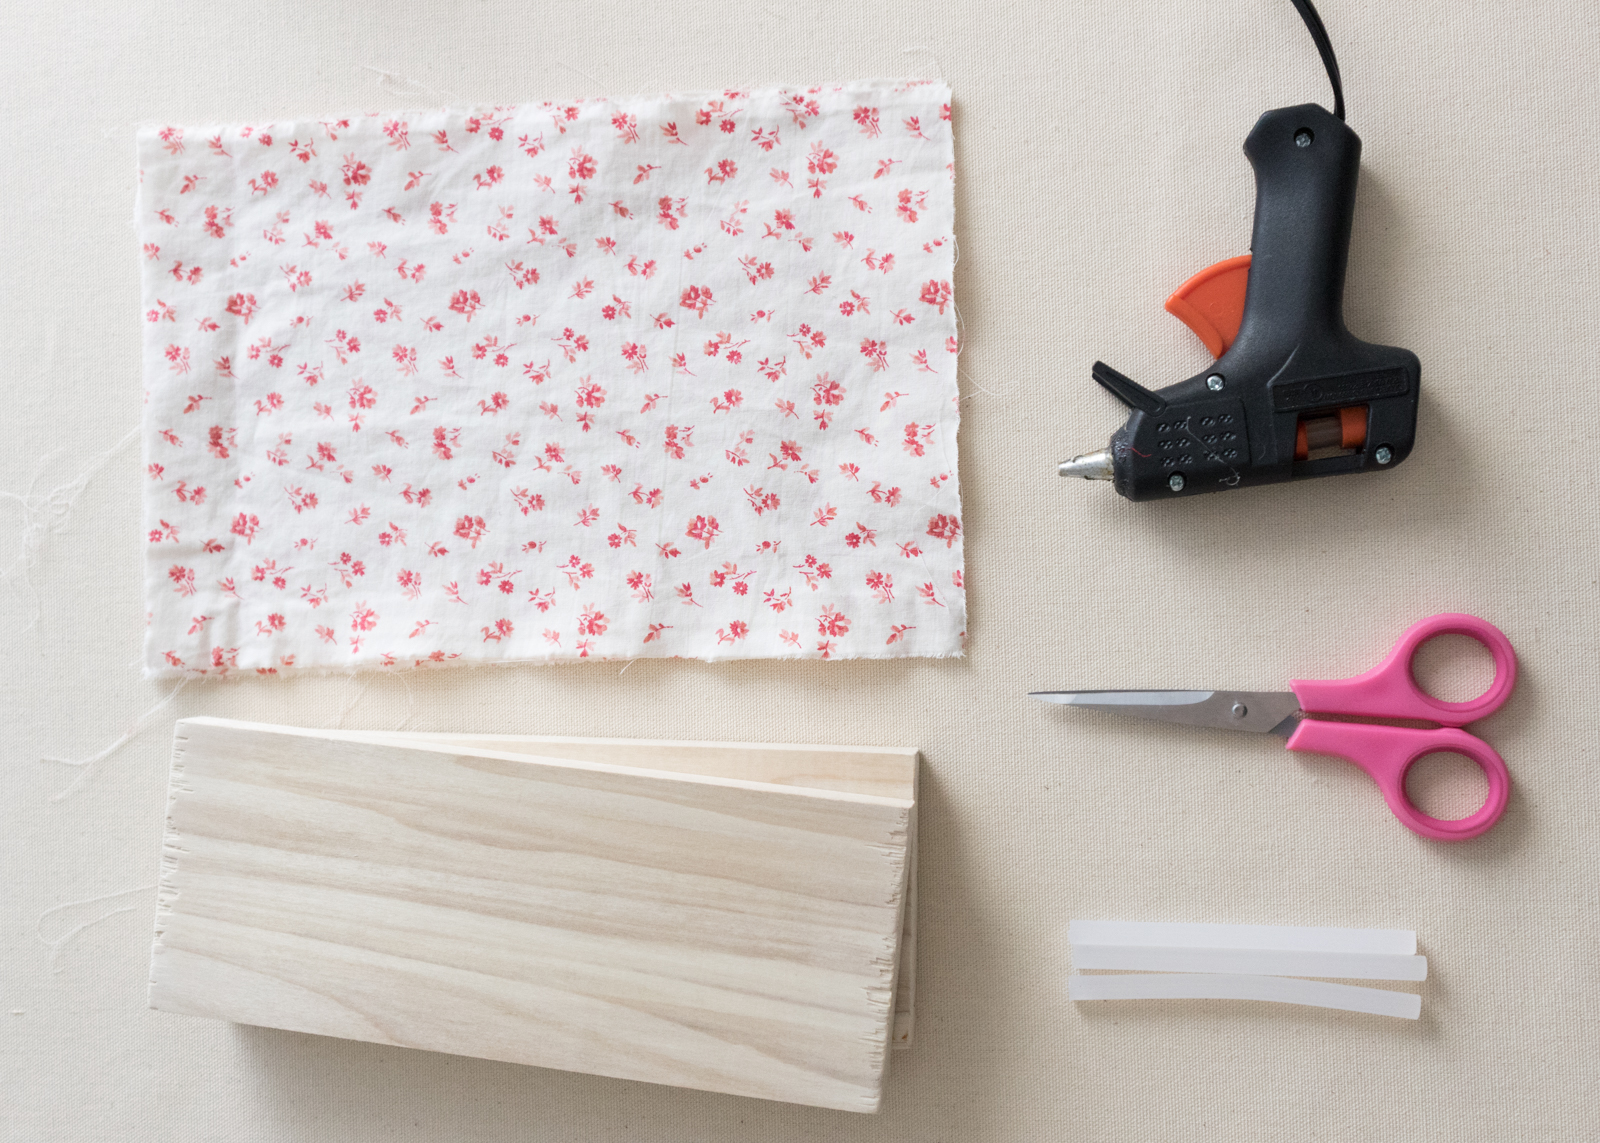
Box Supplies:

- Wood cut to preferred size (I used two 1x4x9s and two 1x4x10.5s)
- Screws (eight 2″)
- Drill
- Hammer
- Nails
- Masonite board – cut to size for back
- Or you can buy a shadow box – with glass or without glass.
Supplies For “Red Crane” Box:
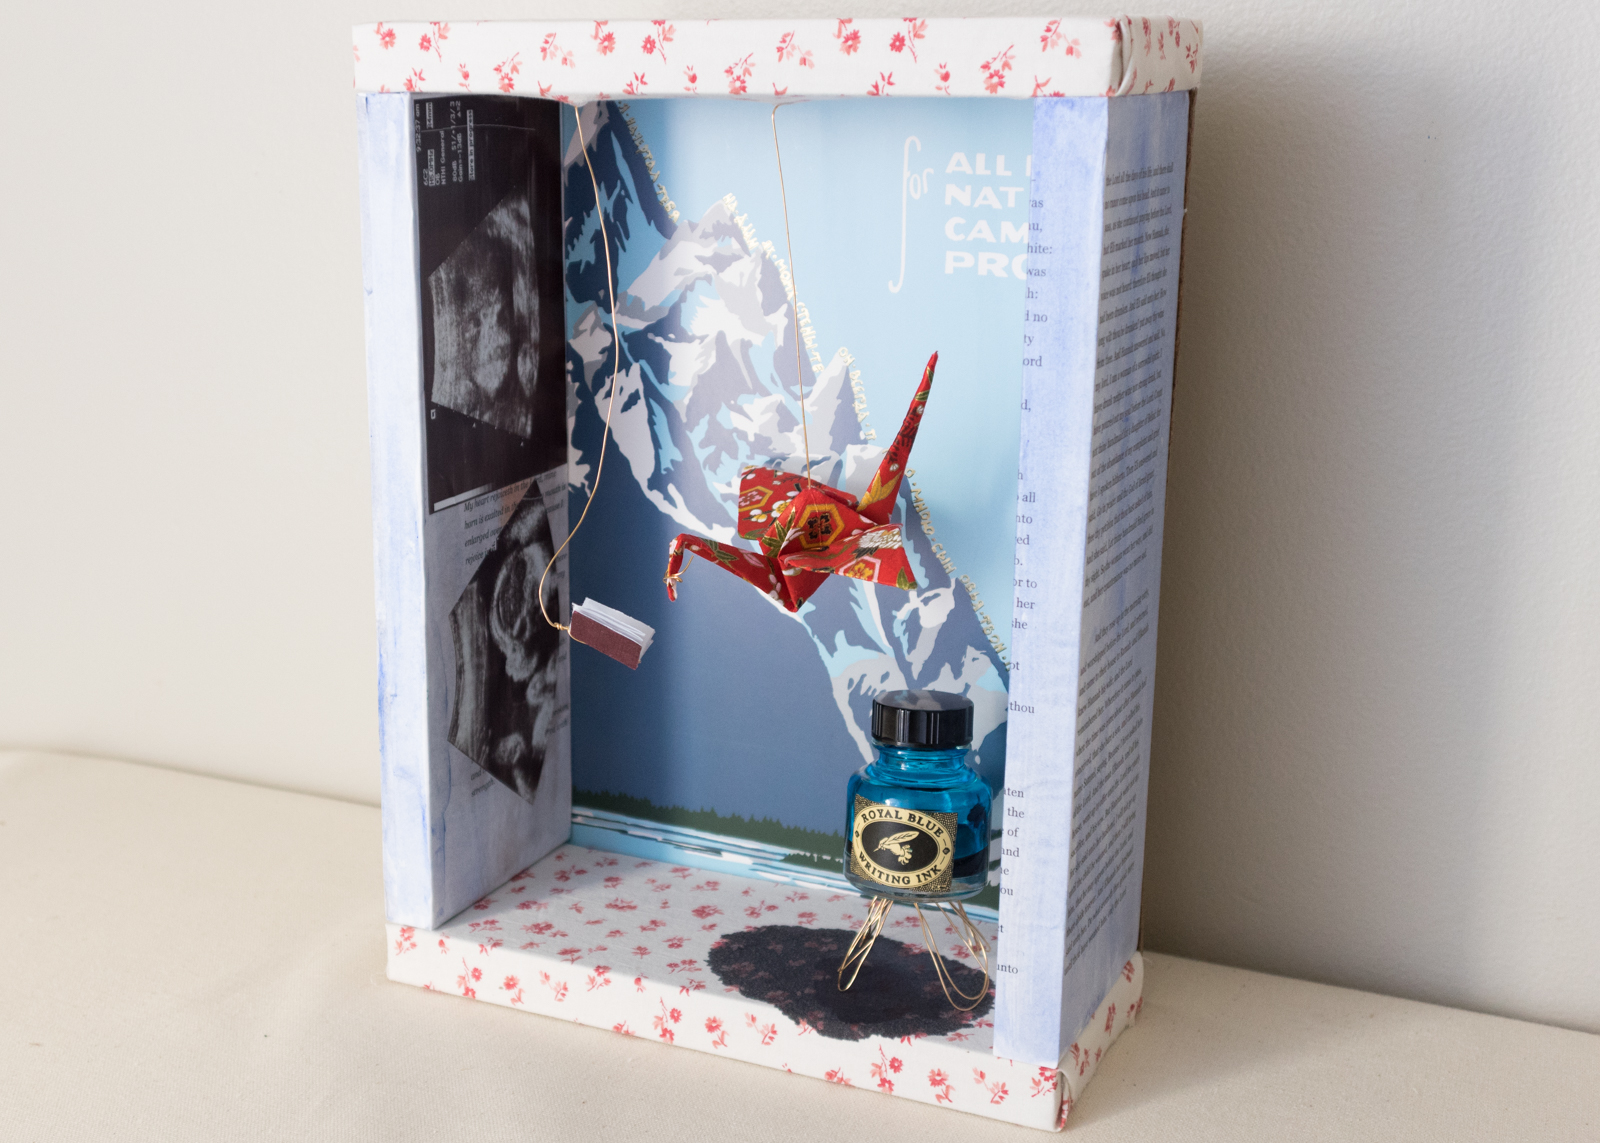
The items below are those I used in my box, just to give you some ideas for your own box. It tells my personal story about becoming a mother. The process of coming up with a concept and then making it visual was really satisfying. It also helped me appreciate Cornell’s pieces more. He was a storyteller.

Putting it together:
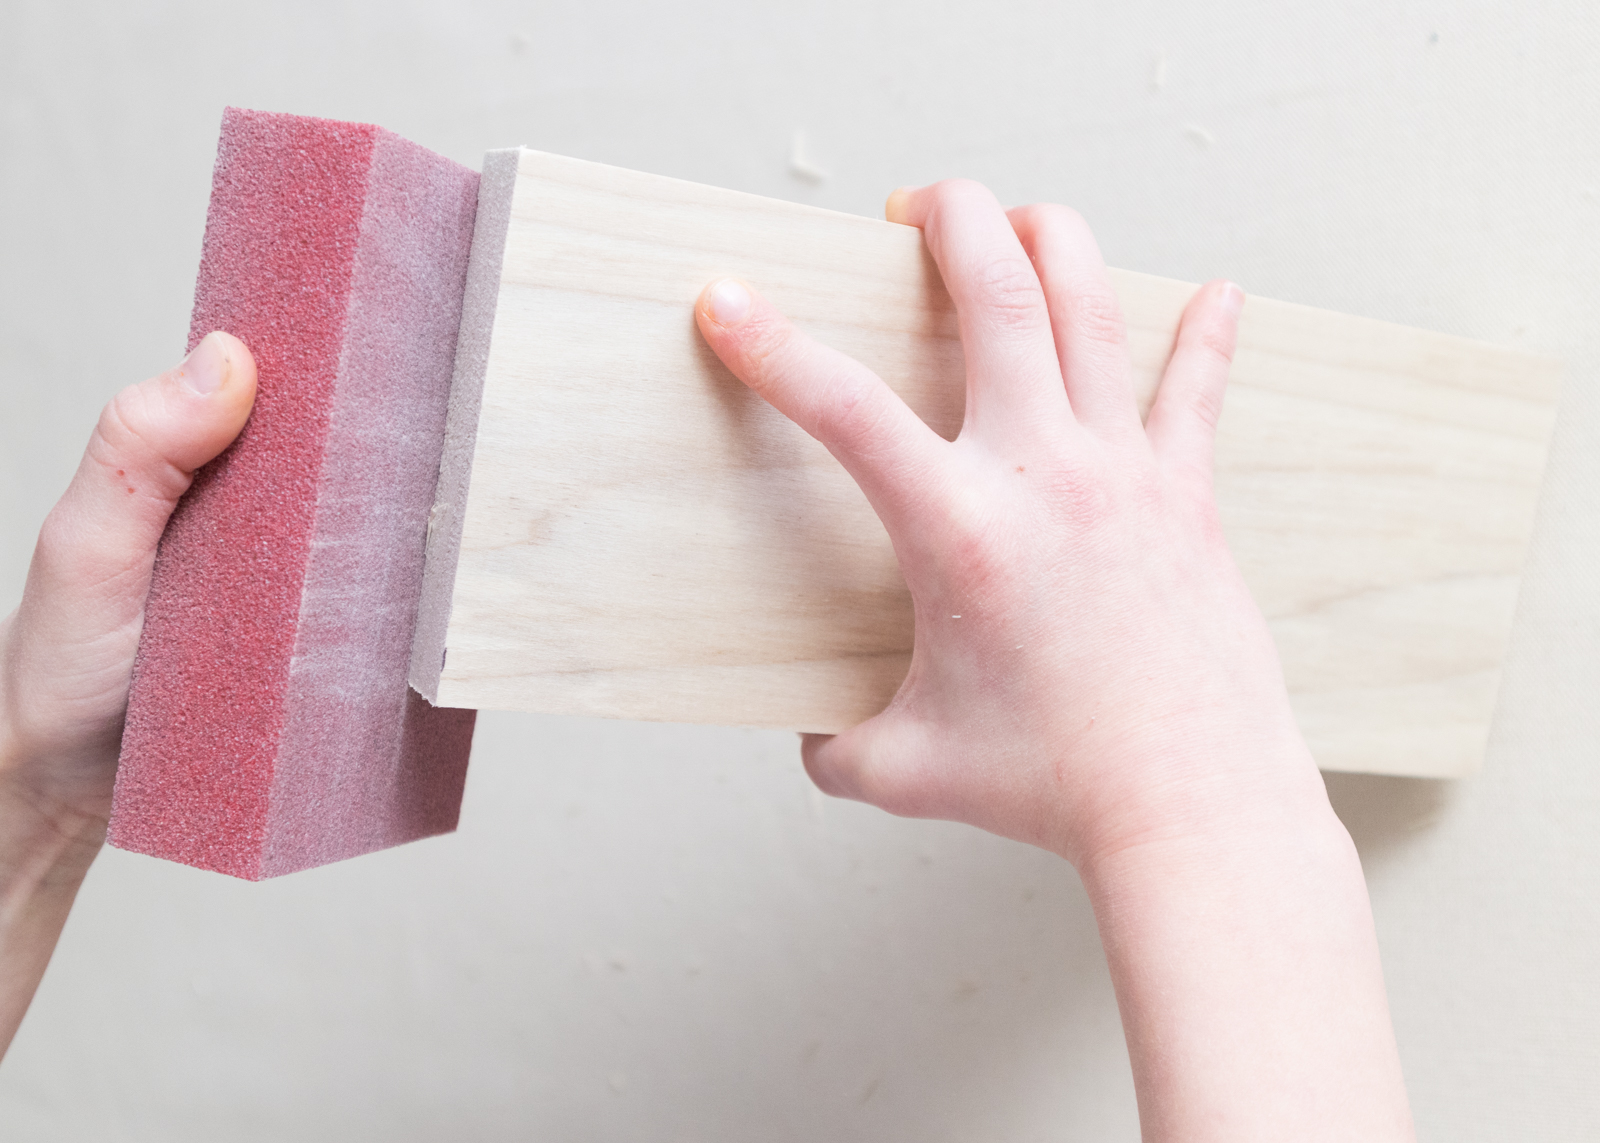
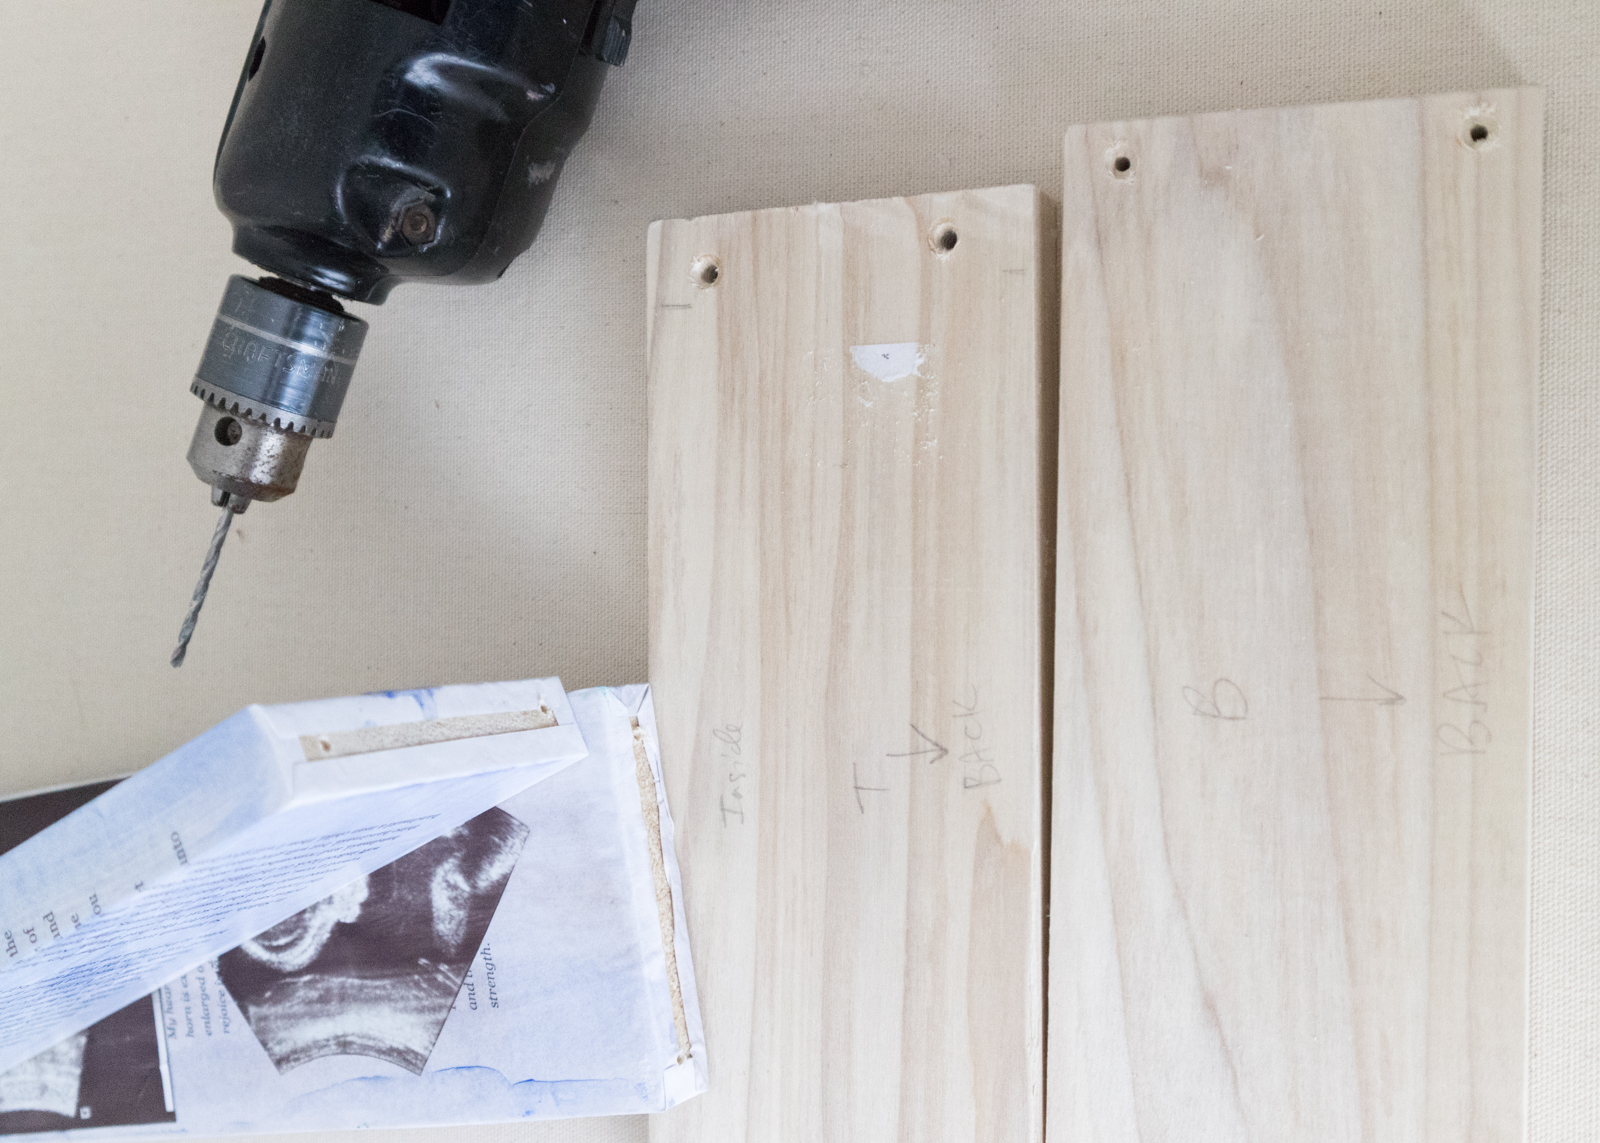
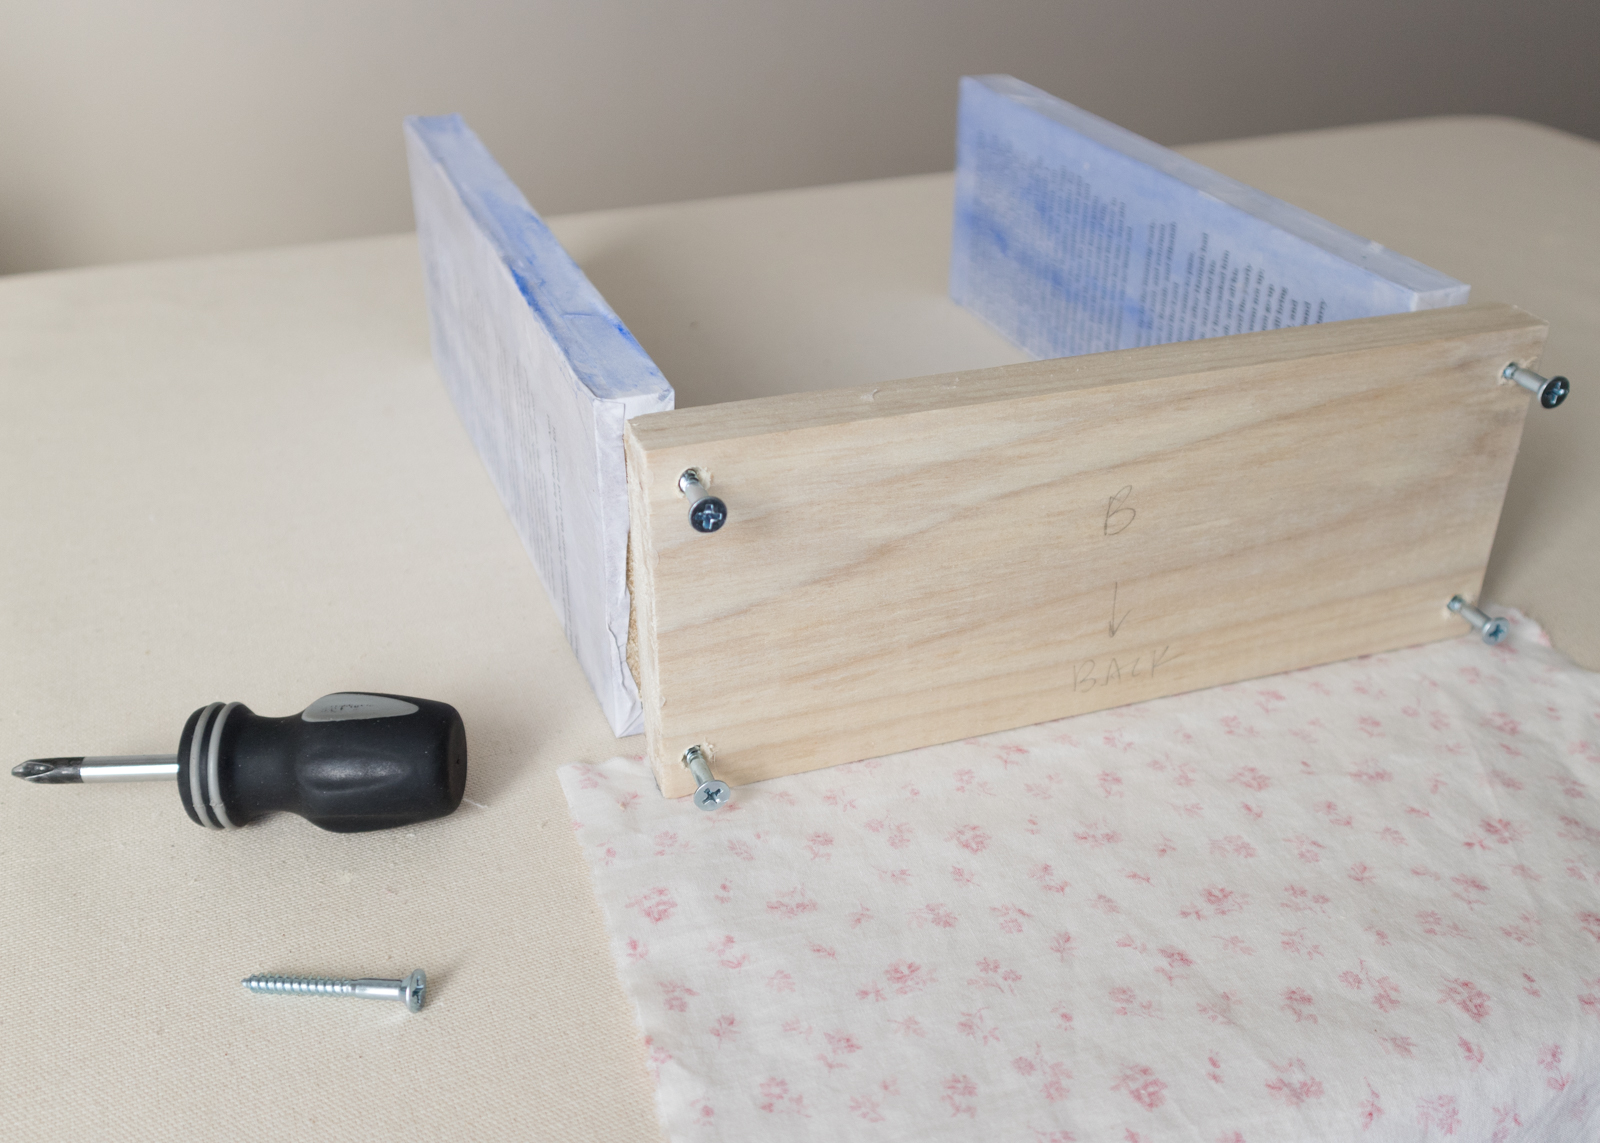
1. Once the wood and masonite are cut to size, sand the edges and mark the wood with a pencil according to its orientation and drill guide holes for screws. If you want the screws to be flush with the top of the wood when screwed in, used a larger drill bit to create an indentation for the screw heads.

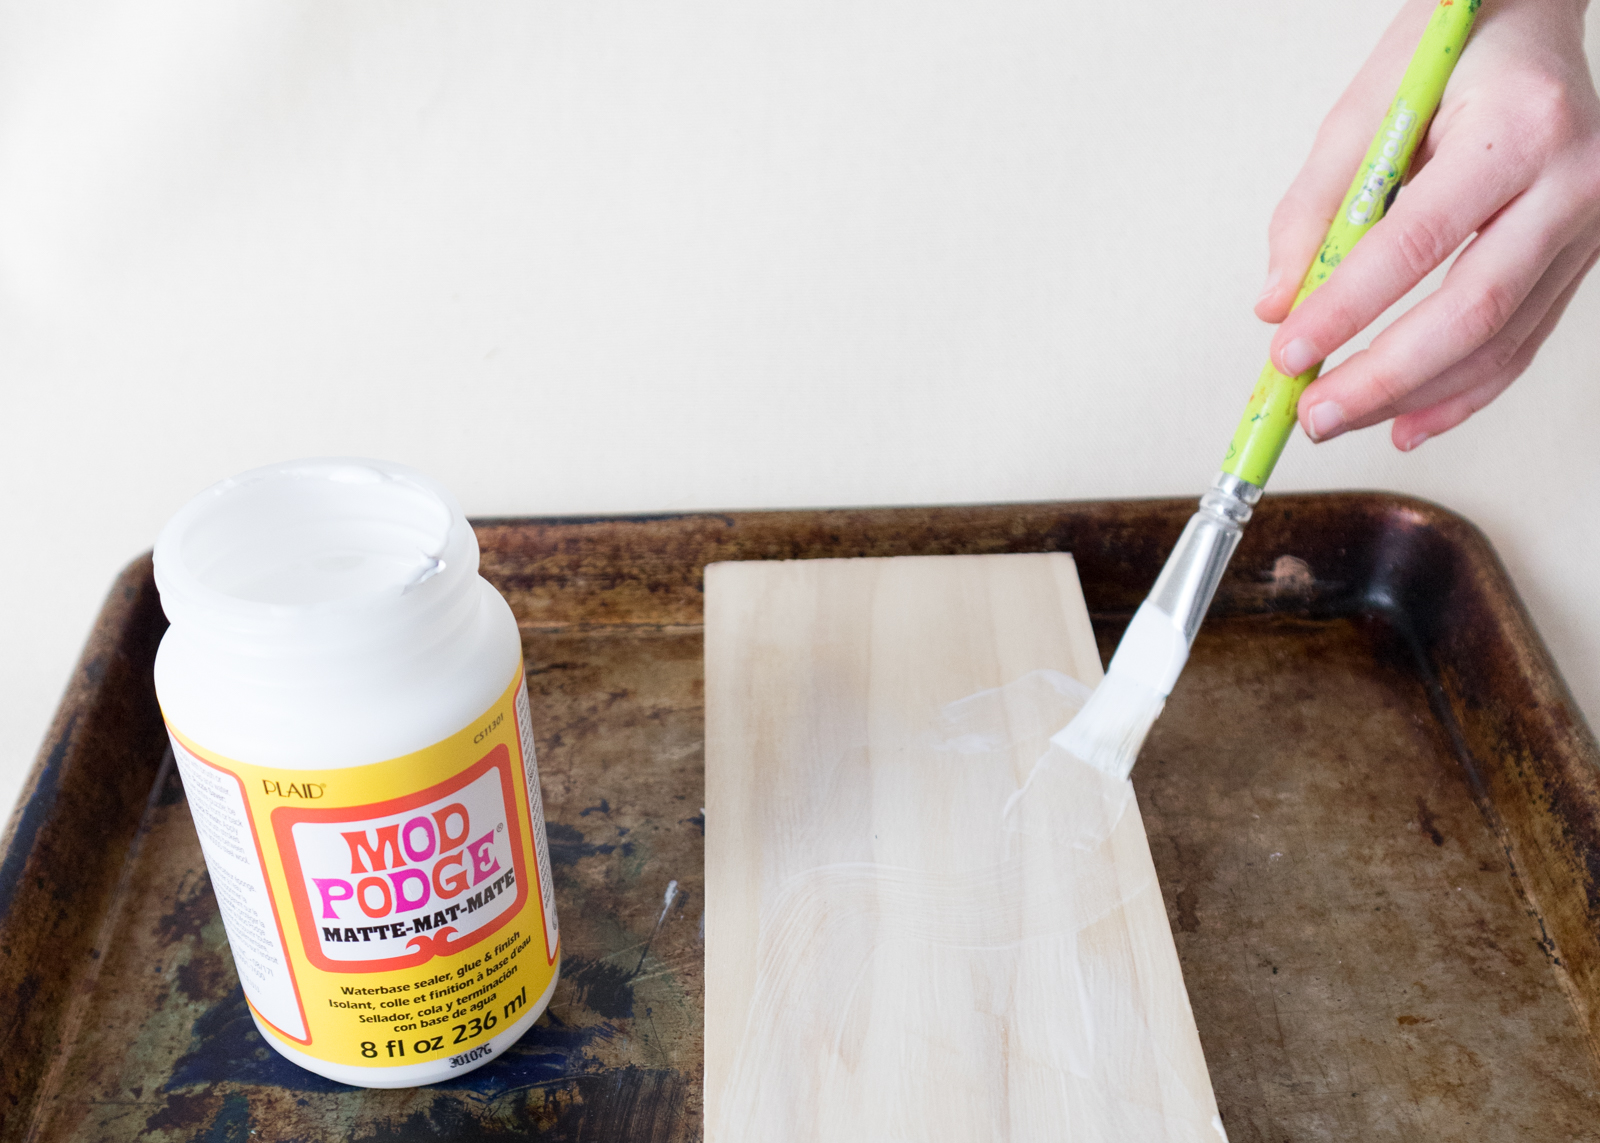
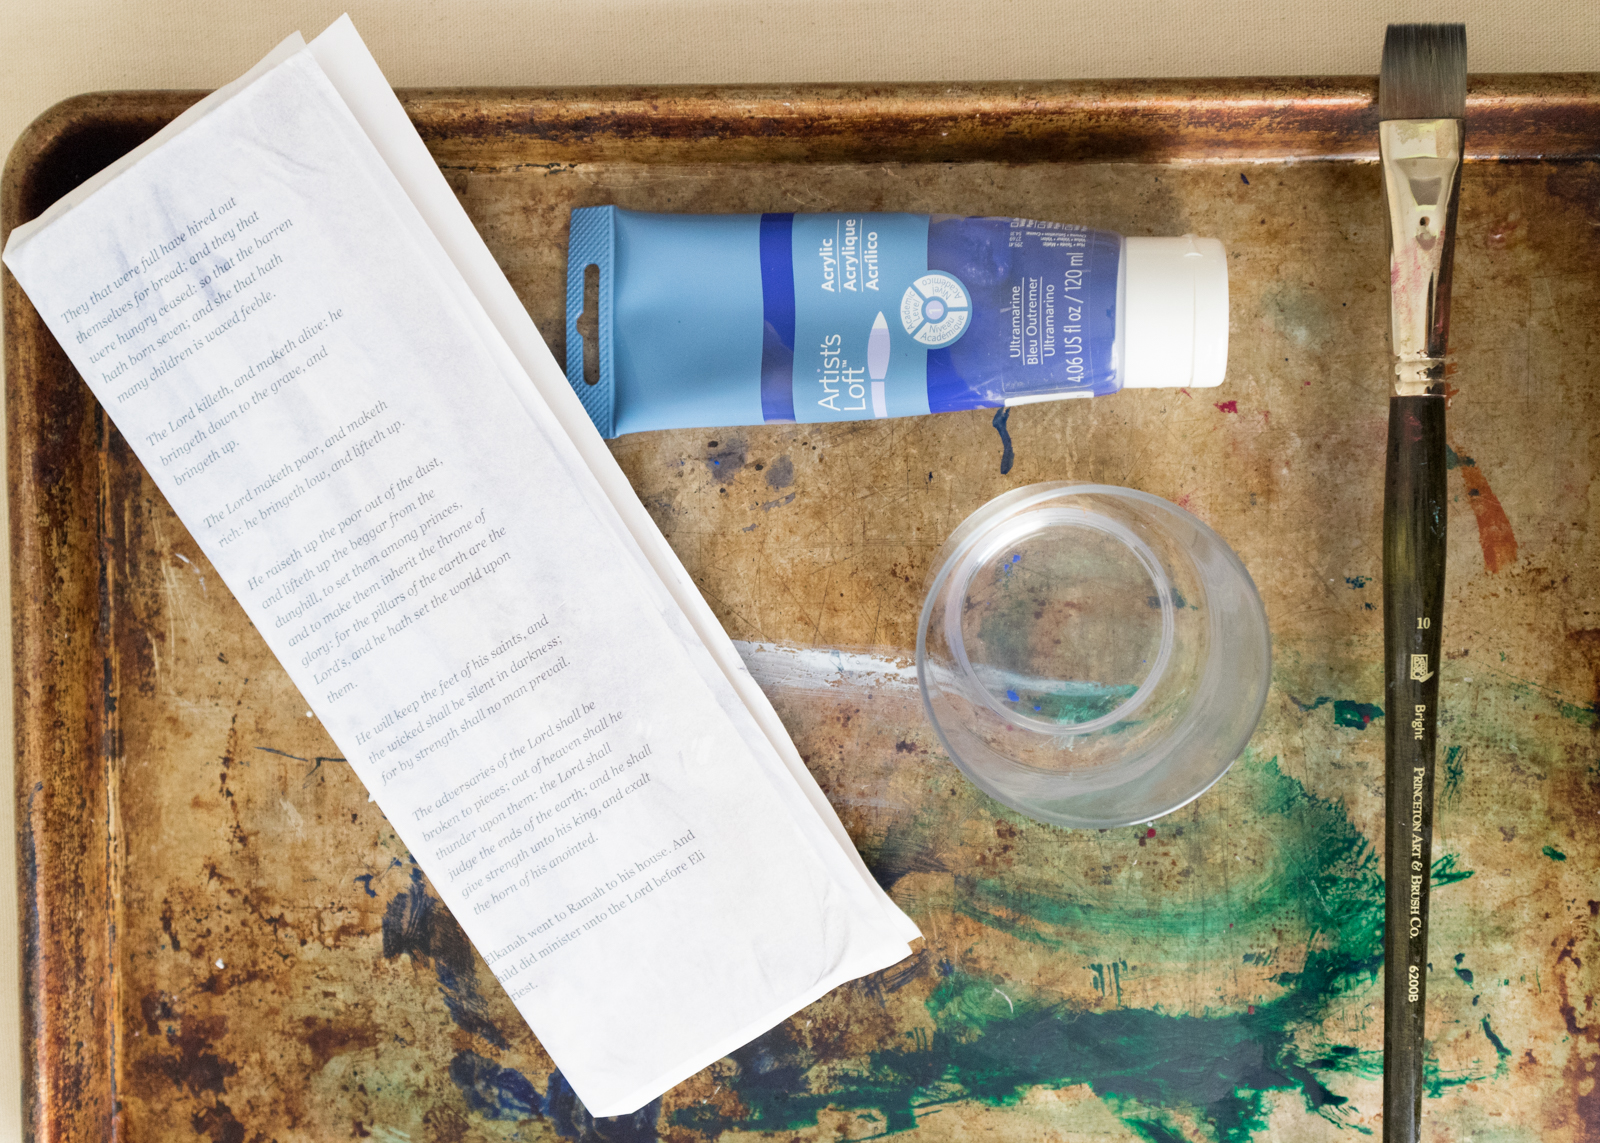
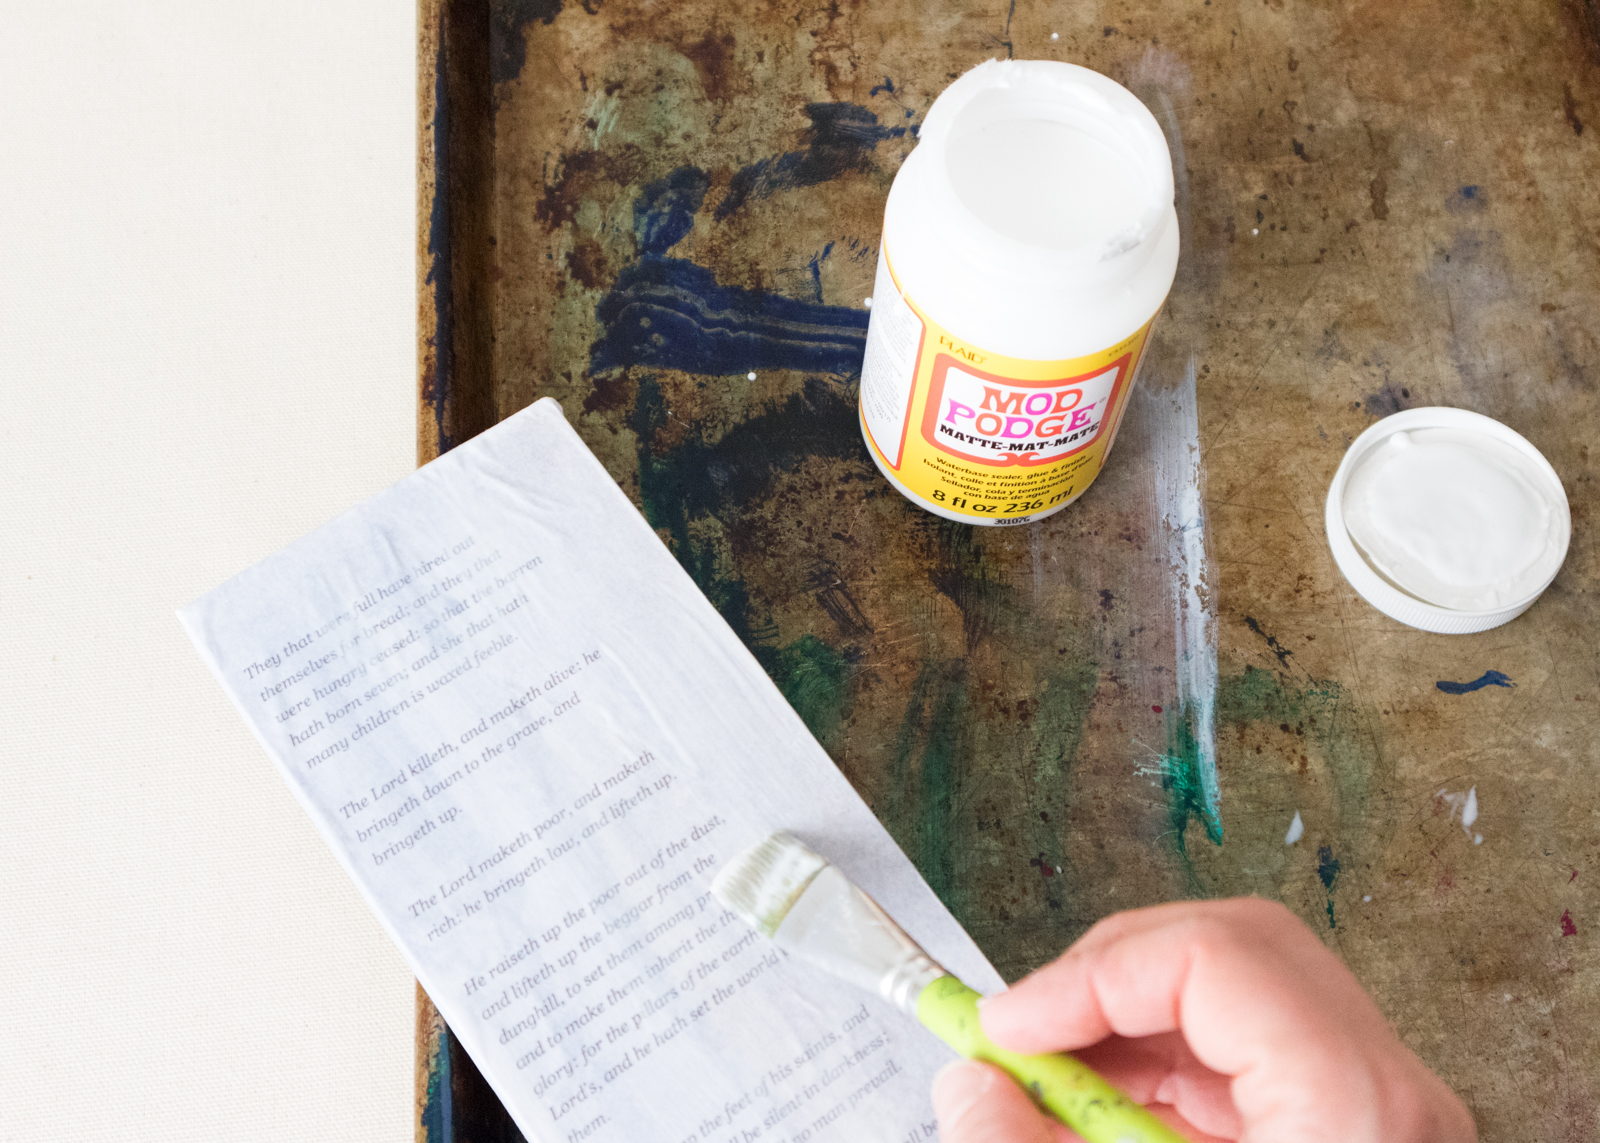
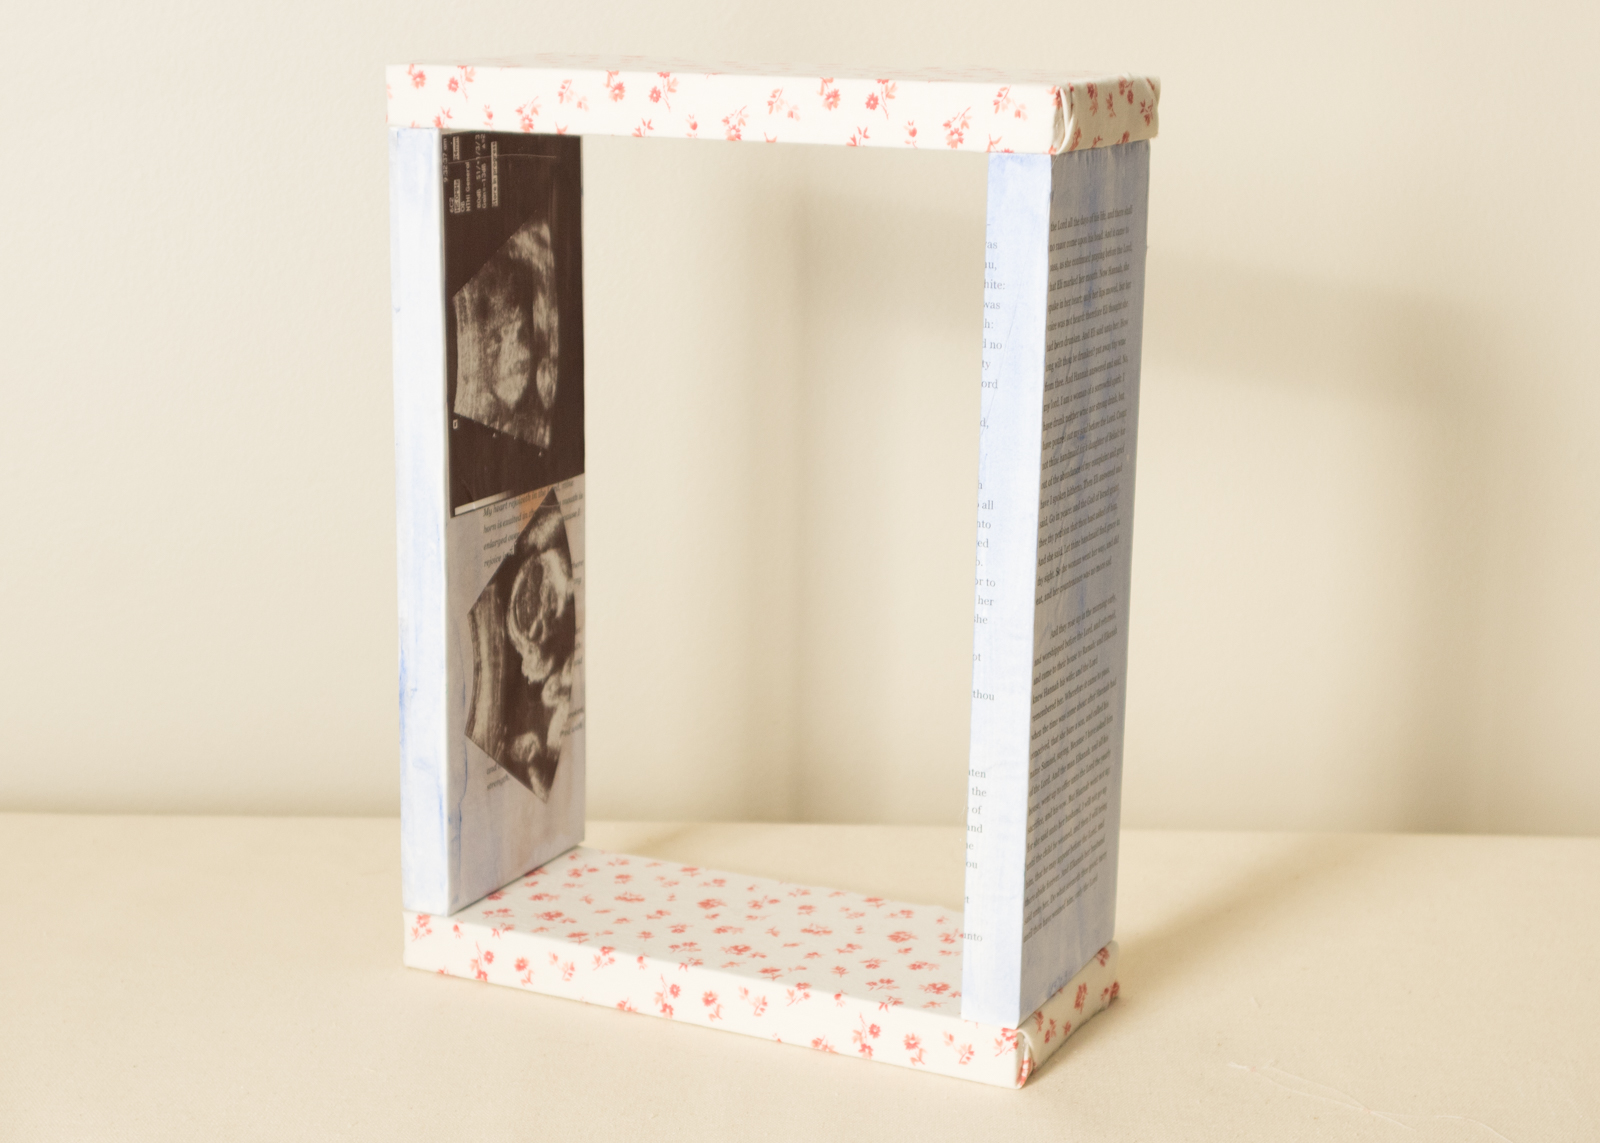
2. If desired, adhere paper to the box with mod podge before assembling the box. Paint a thin layer of mod podge onto the wood, stick the paper on, smoothing out any bubbles. (I didn’t want my paper to be so starkly white, so I painted it blue with watered down acrylic paint after gluing the paper to the wood.) Once everything dries, seal it with another coat of mod podge.

3. To hide the screws, glue edge of fabric with hot glue to the back edge of the wood. You’ll have a long portion of fabric hanging down to eventually wrap around the wood to meet the edge that was just glued. Partially screw in screws without putting the screws into the other piece of wood.
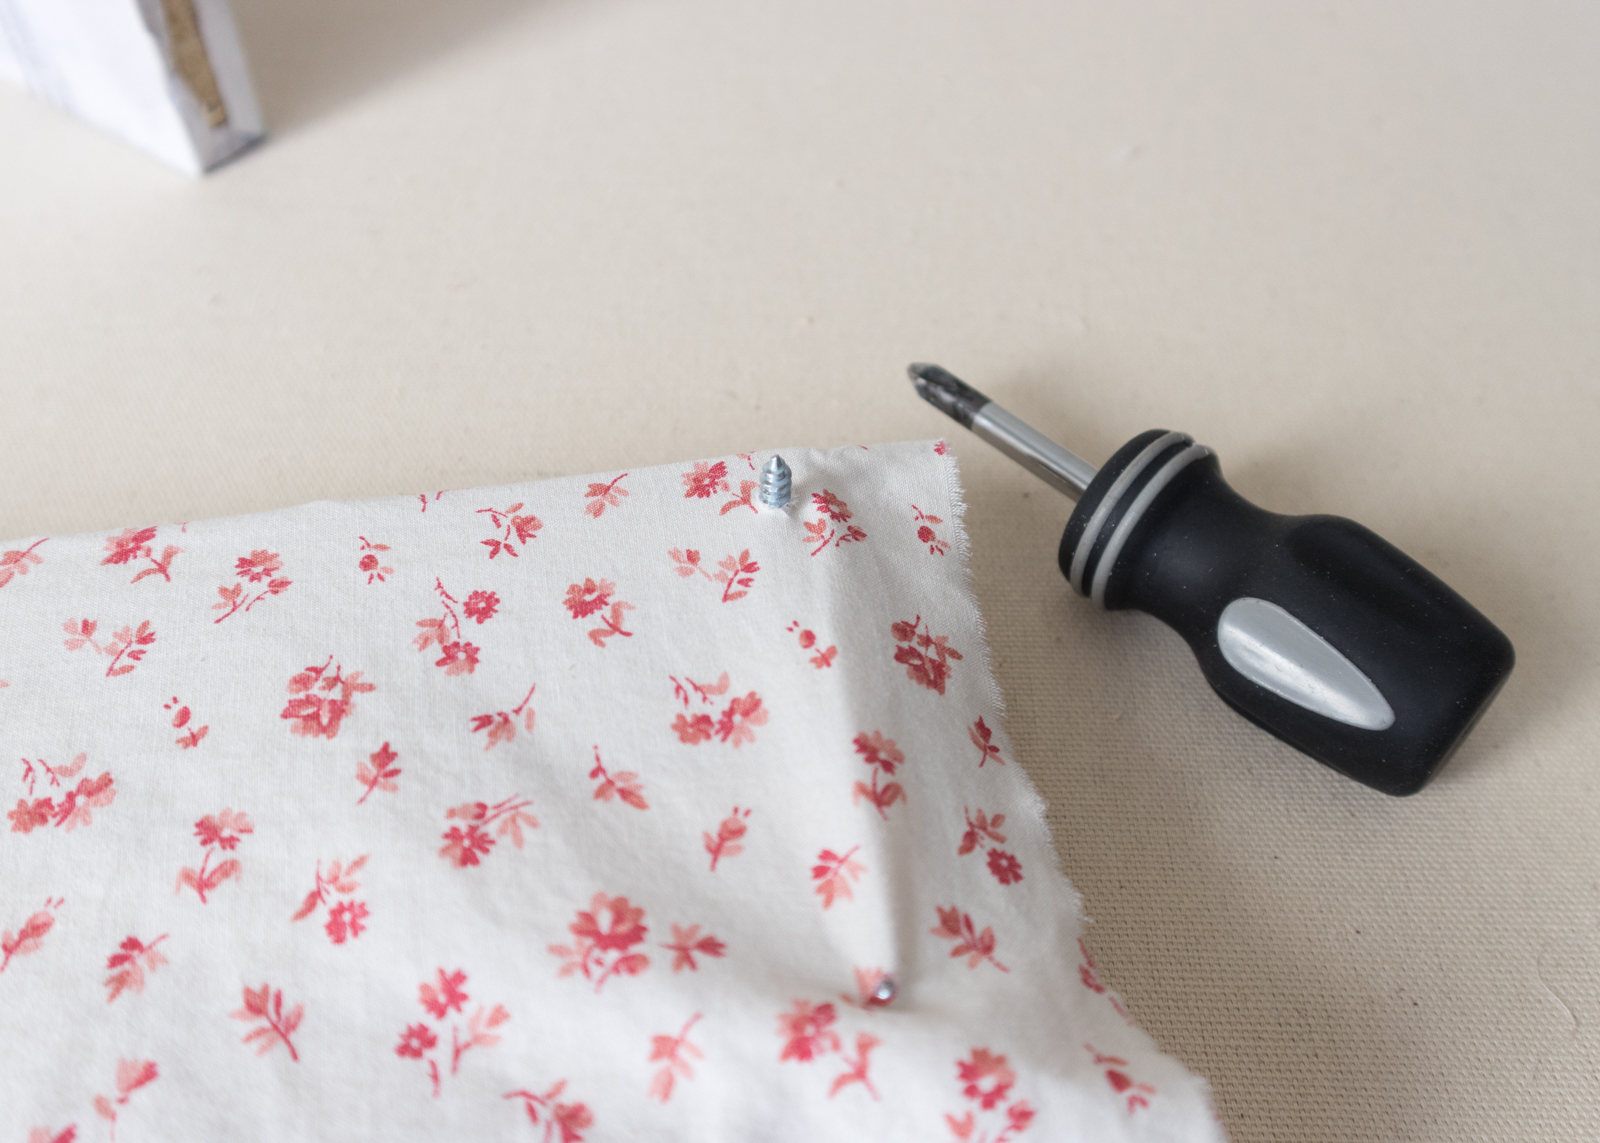
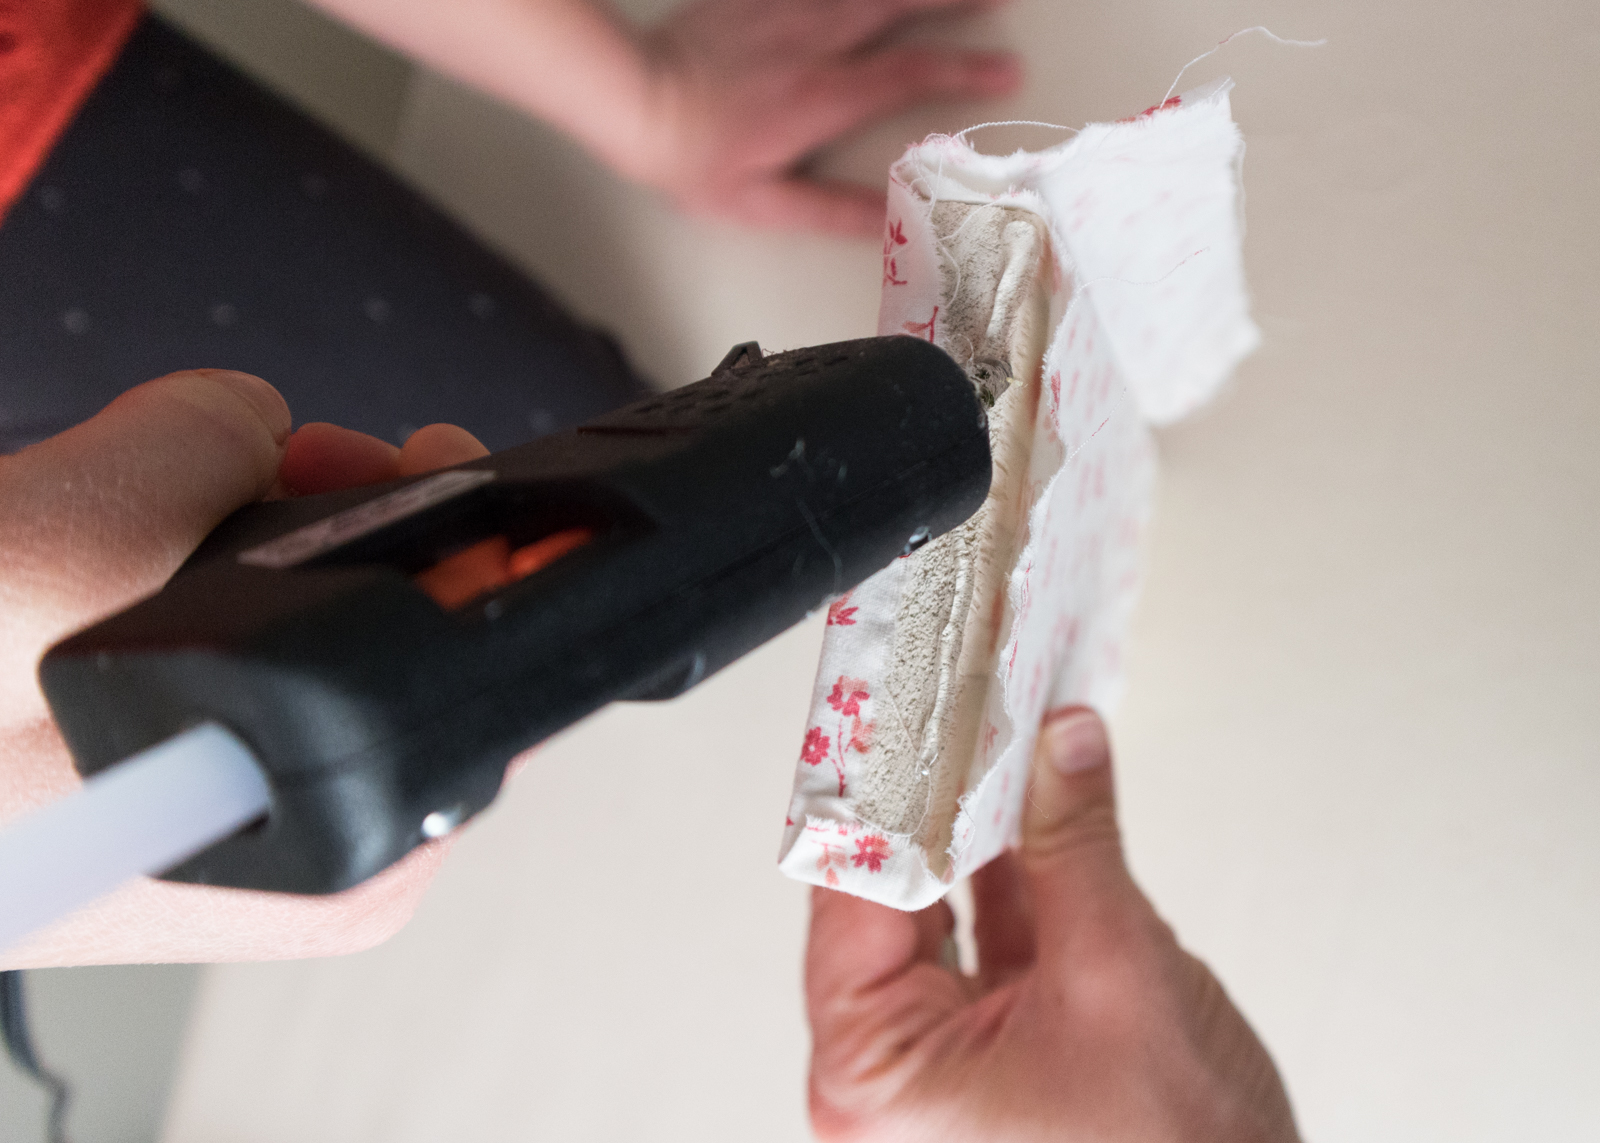
4. Pull fabric to the front of the wood, over the screws. Screw the top piece of wood into place on the side pieces of wood. Finish wrapping the fabric around to the back edge of the wood and glue. Cut off any extra fabric. For the sides just fold it as if you were wrapping a present, adhering it with hot glue. Repeat with the bottom piece of wood.
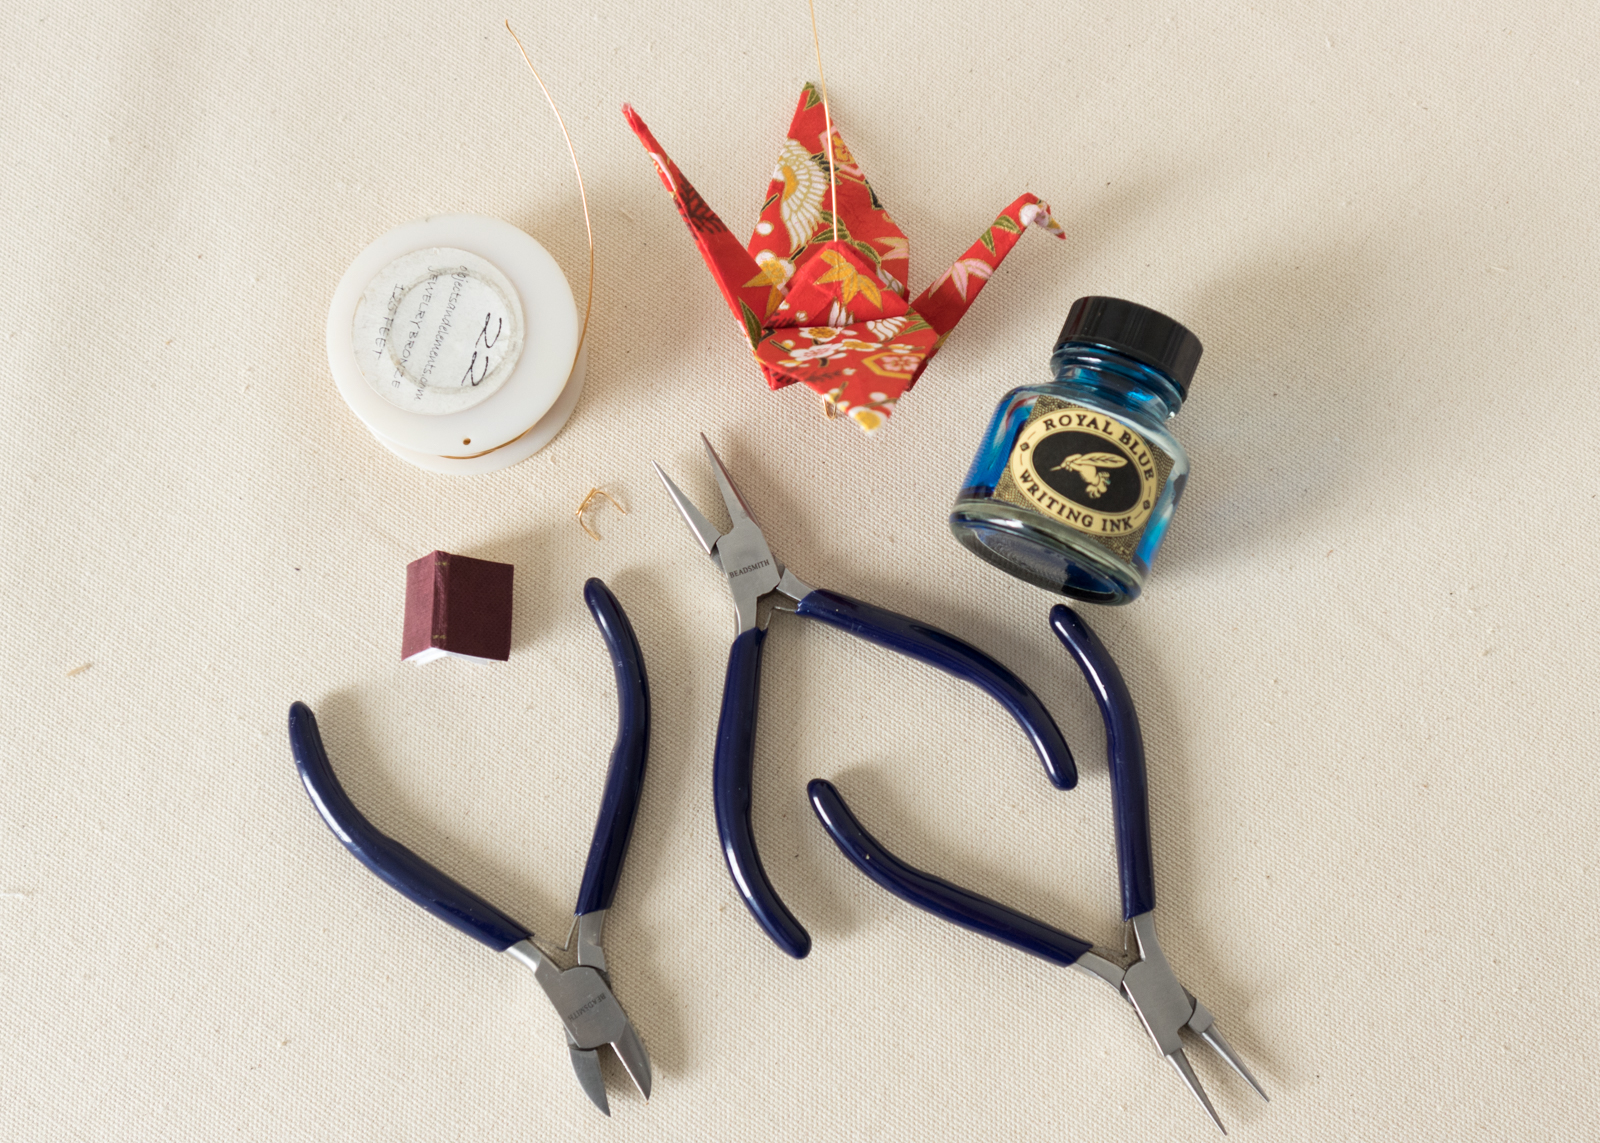
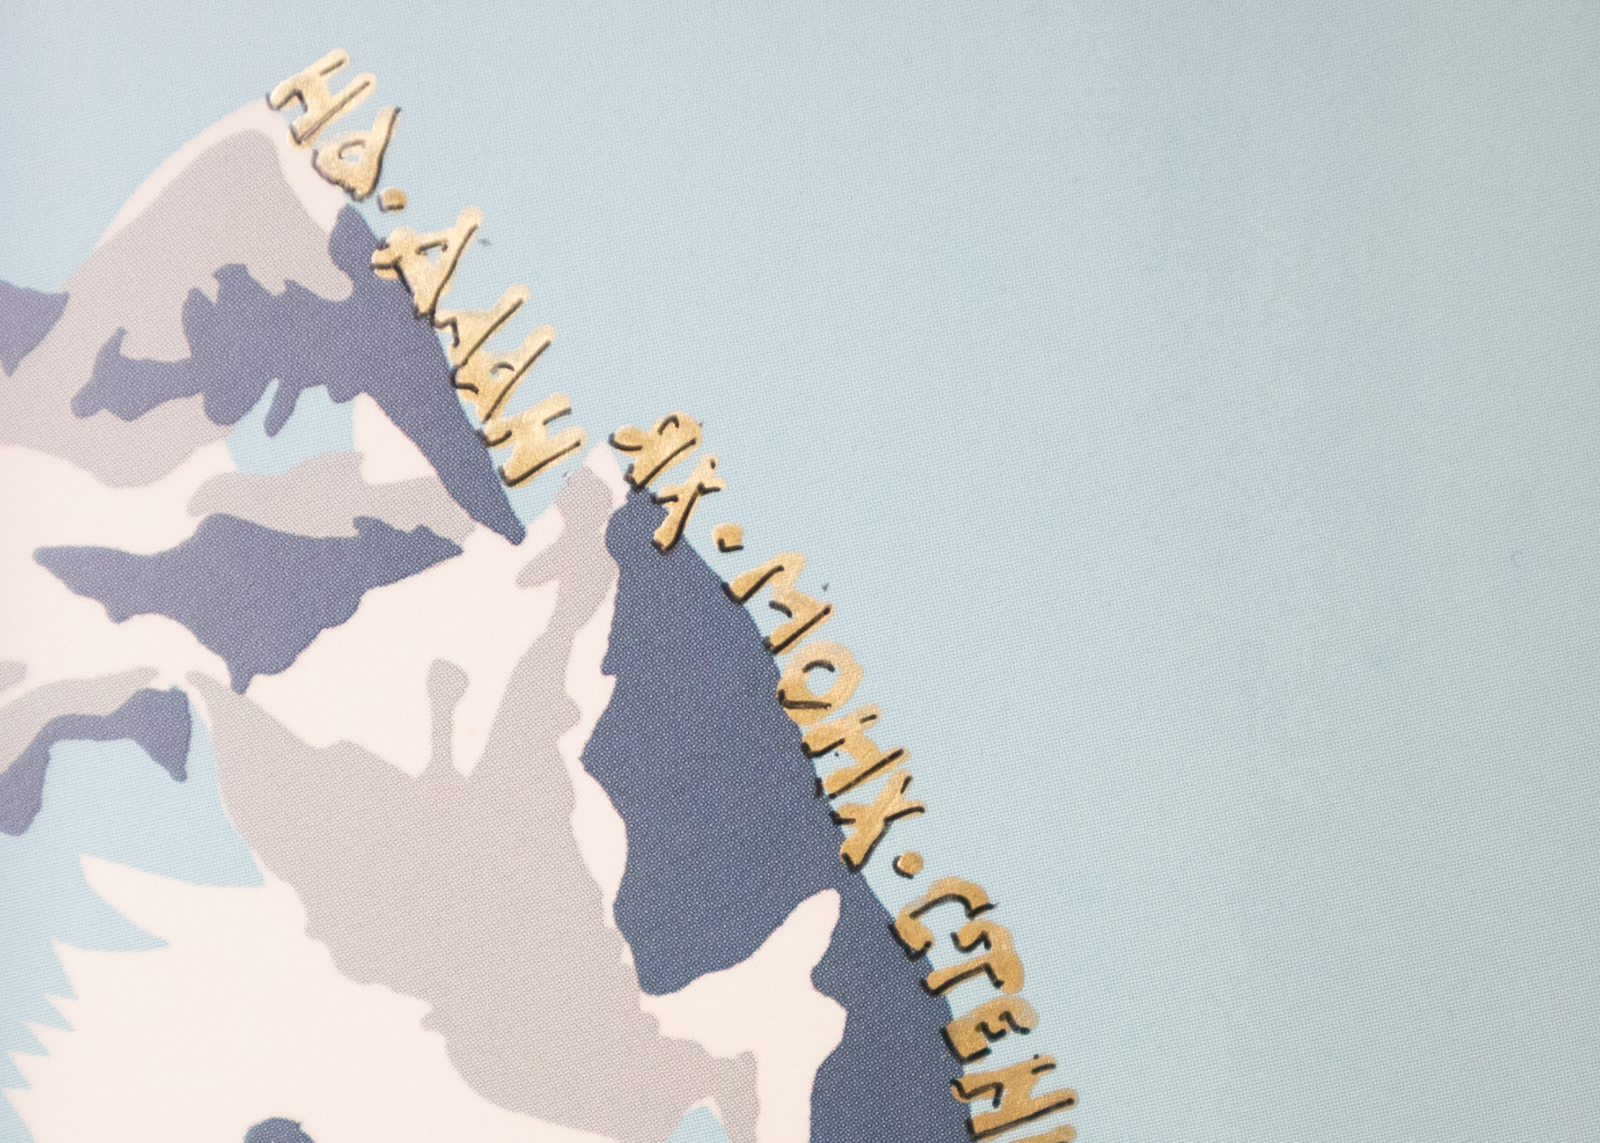
5. For ease of access, finish all possible elements inside of the box before attaching the back. I poured some ink onto the fabric and my husband did the calligraphy along the ridge of the mountain. I made the glasses on the crane from copper wire and folded the crane.
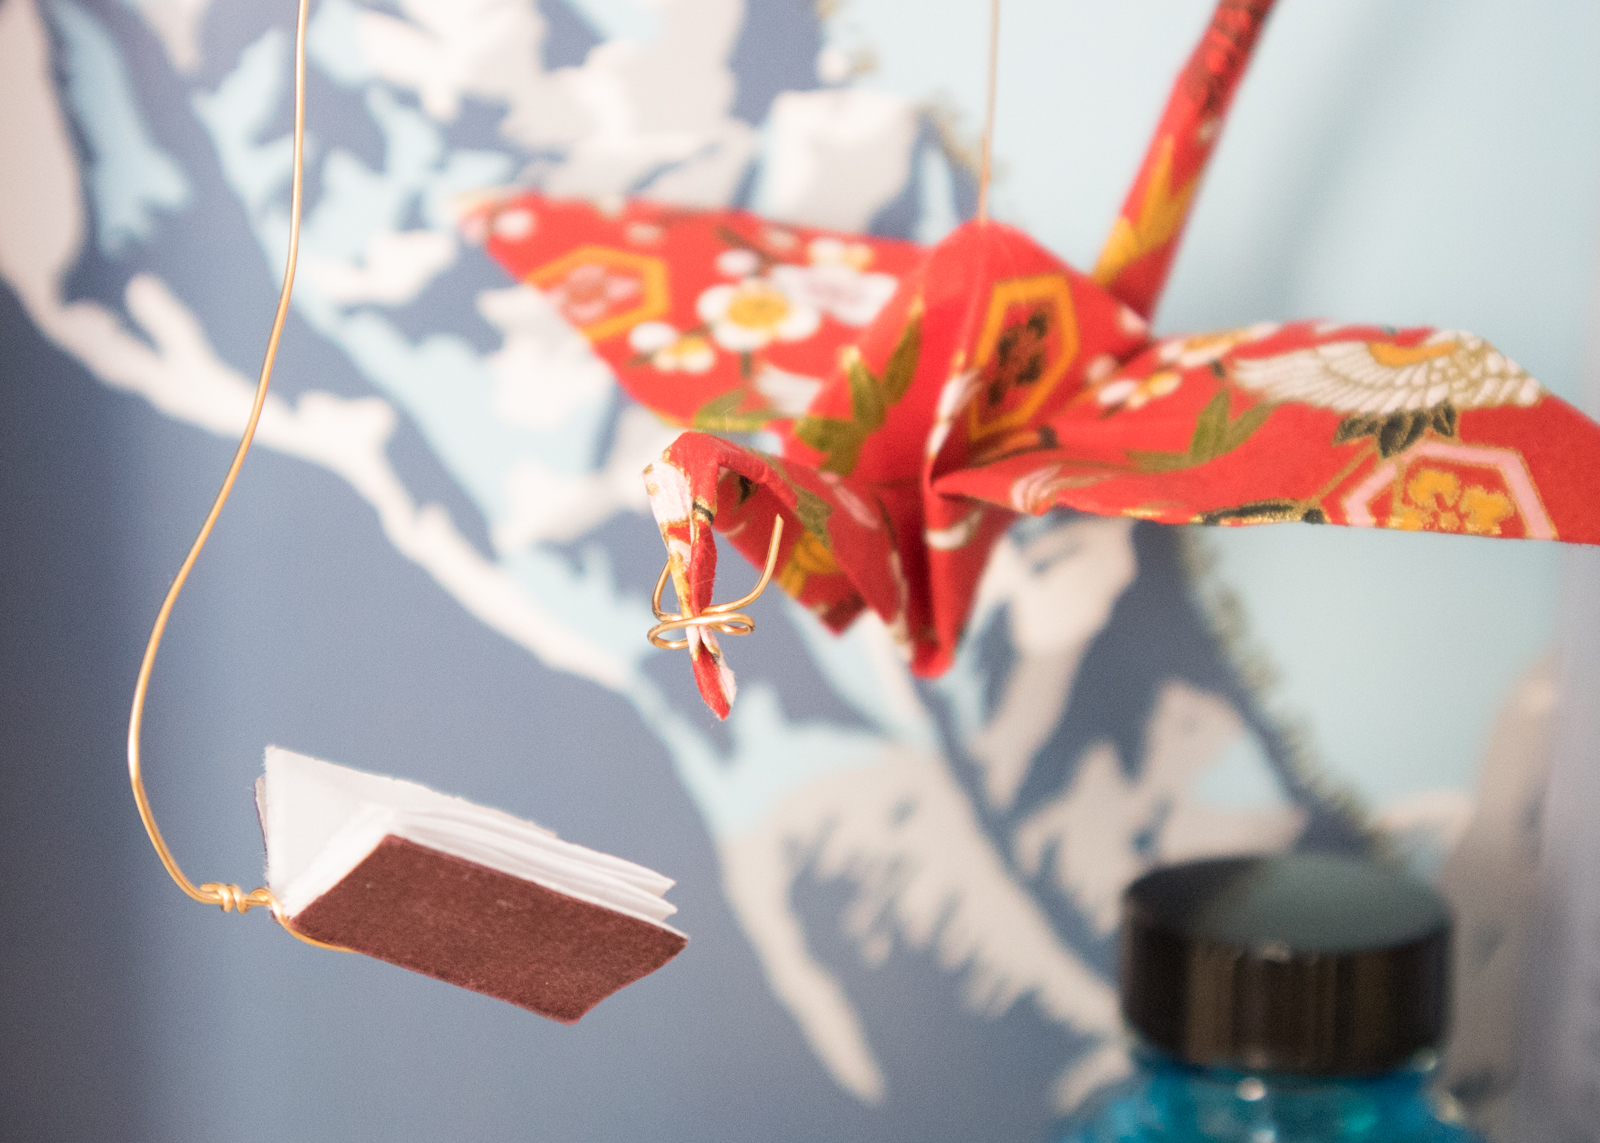
6. I attached the crane to the top of the box by poking the wire through the crane and then through the fabric and gluing it with hot glue. I did the same with the book, except I wrapped the outside of the book with wire. I taped the National Parks poster to the masonite. Once the inside is as complete as possible, attach the masonite to the wood with a hammer and nails.
Making these was therapeutic. It’s fun to find objects that symbolize or have a connection to whatever you want to express. Also, because everything is found instead of made, I was released from the anxiety of creating something that didn’t live up to my imagination!
Leave A Comment