
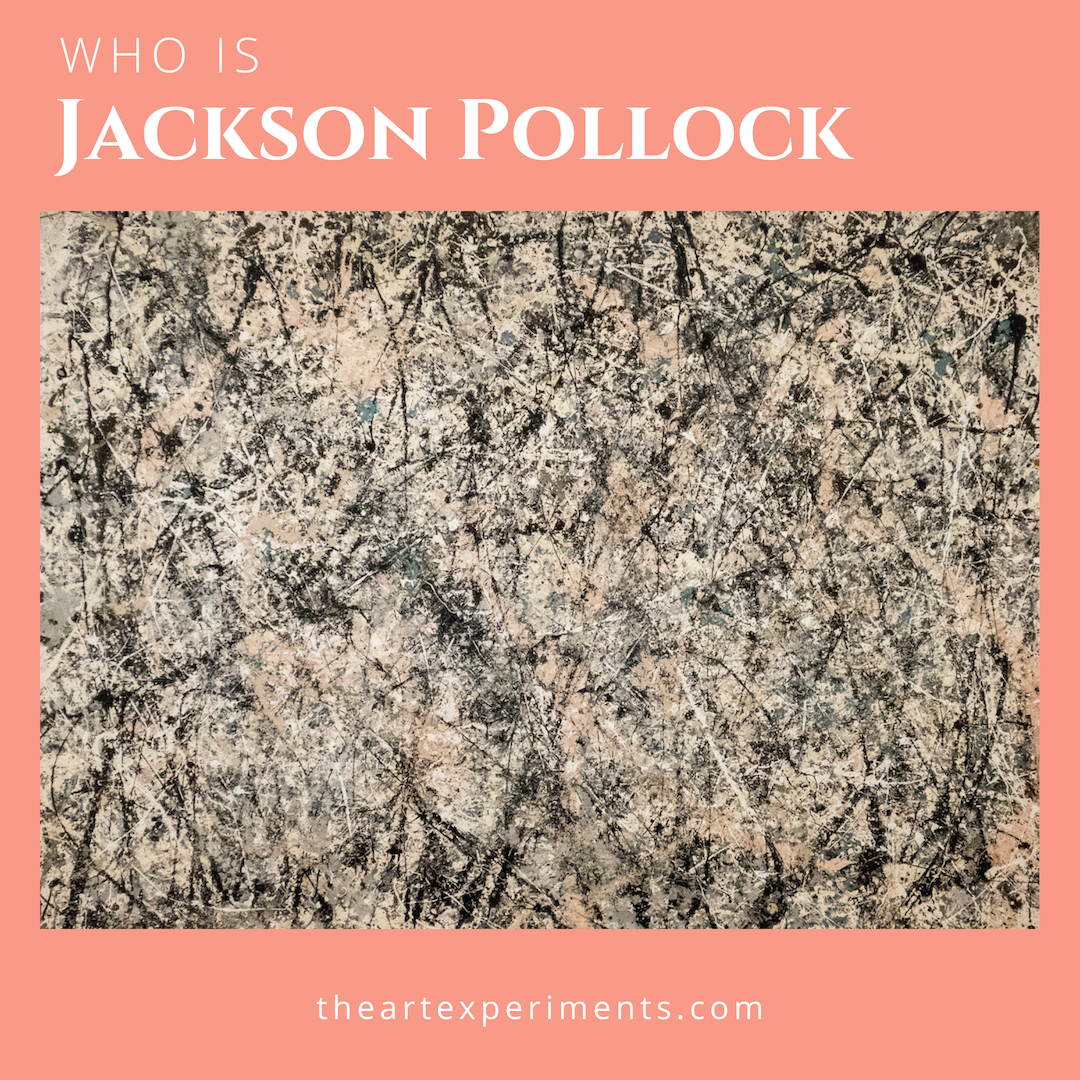
Create a painting using Jackson Pollock’s drip technique.

I let my youngest daughter and her friend (two five year olds) create a drip painting together. They had the best time! I told them to walk around to each side of the painting so the colors were evenly distributed. They didn’t walk around the canvas – they skipped. If you are trying this technique out, I really encourage skipping. It definitely improved their finished product.

Fortunately, I had the foresight to take this party outside. I put plastic (the large roll from the hardware store that is kind of like saran wrap) down under the canvas. The plastic was a good idea, but it was hard to keep it in place. When I did this project myself I used a plastic shower curtain plus a painting tarp. It worked much better.

Anyhow, unlike Pollock, these two little girls did not make a plan ahead of time. However, they fully embraced the action painting and expression aspects. To control their paint a little better and because I had this on hand, I gave them Golden acrylics in bottles to squirt onto the canvas.

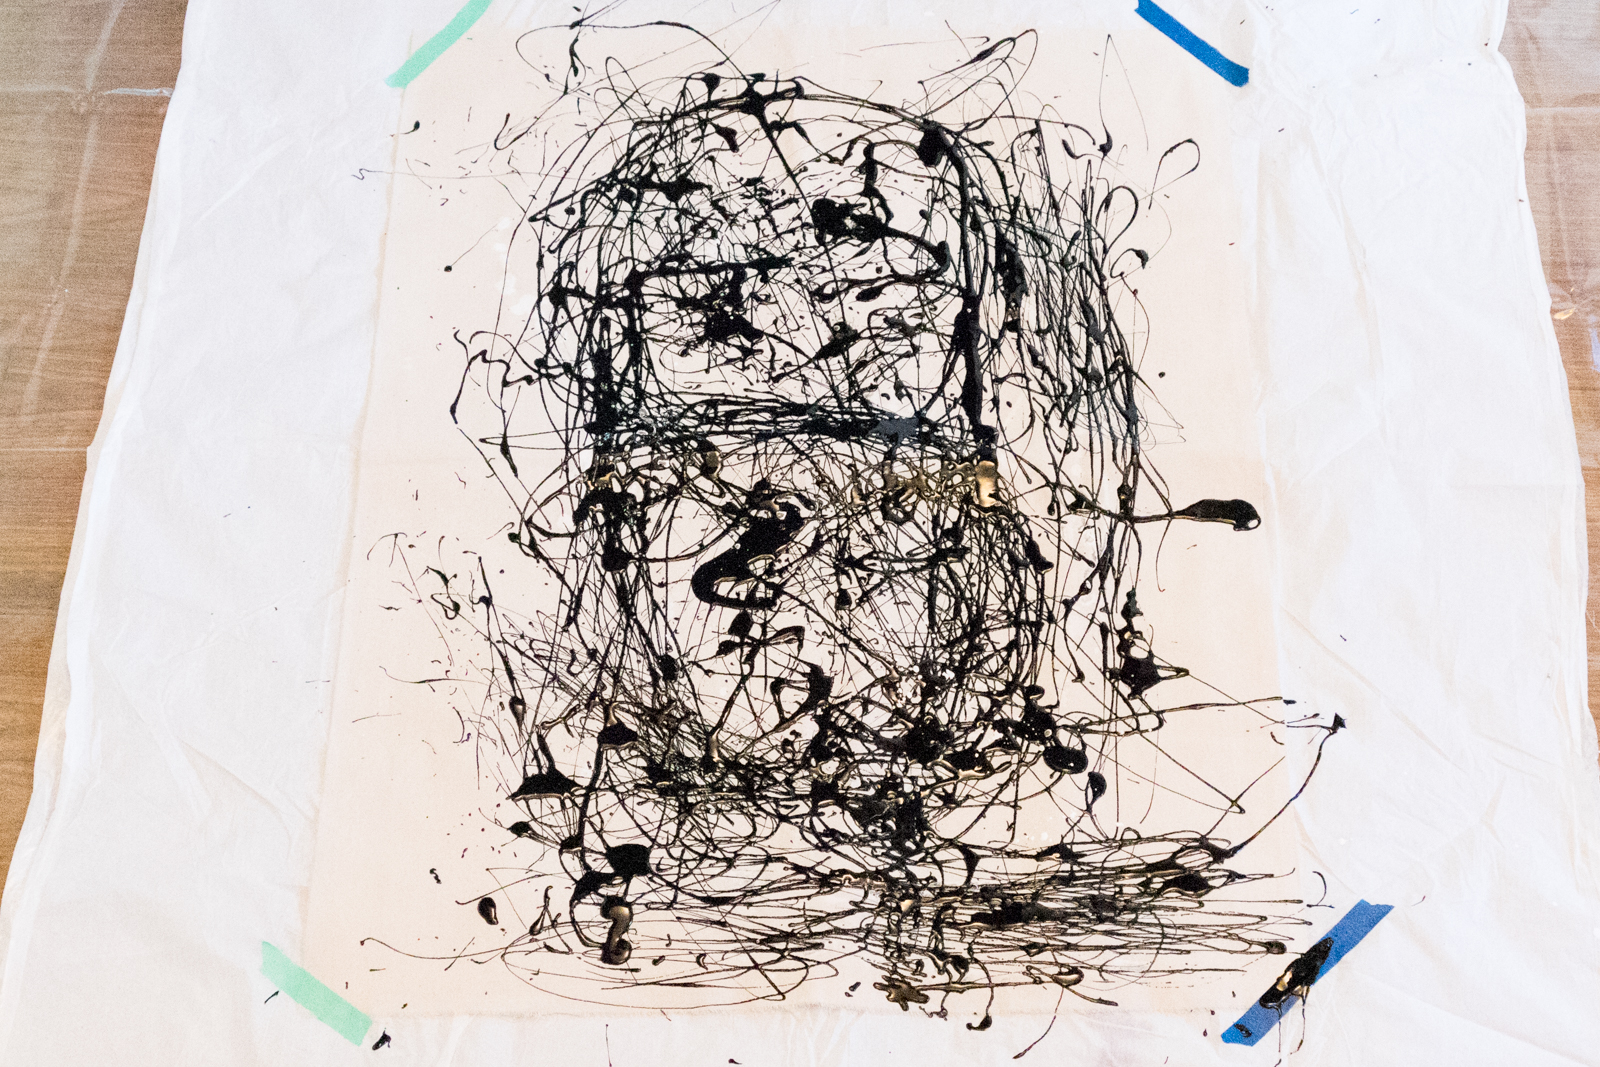
This was painting at its finest: two happy, joyful girls plus a colorful, playful painting.

Drip Painting Supplies:

Just a little note: because I am currently living in Italy some of the products I use are not exactly the same as those in the links.
Putting it together:
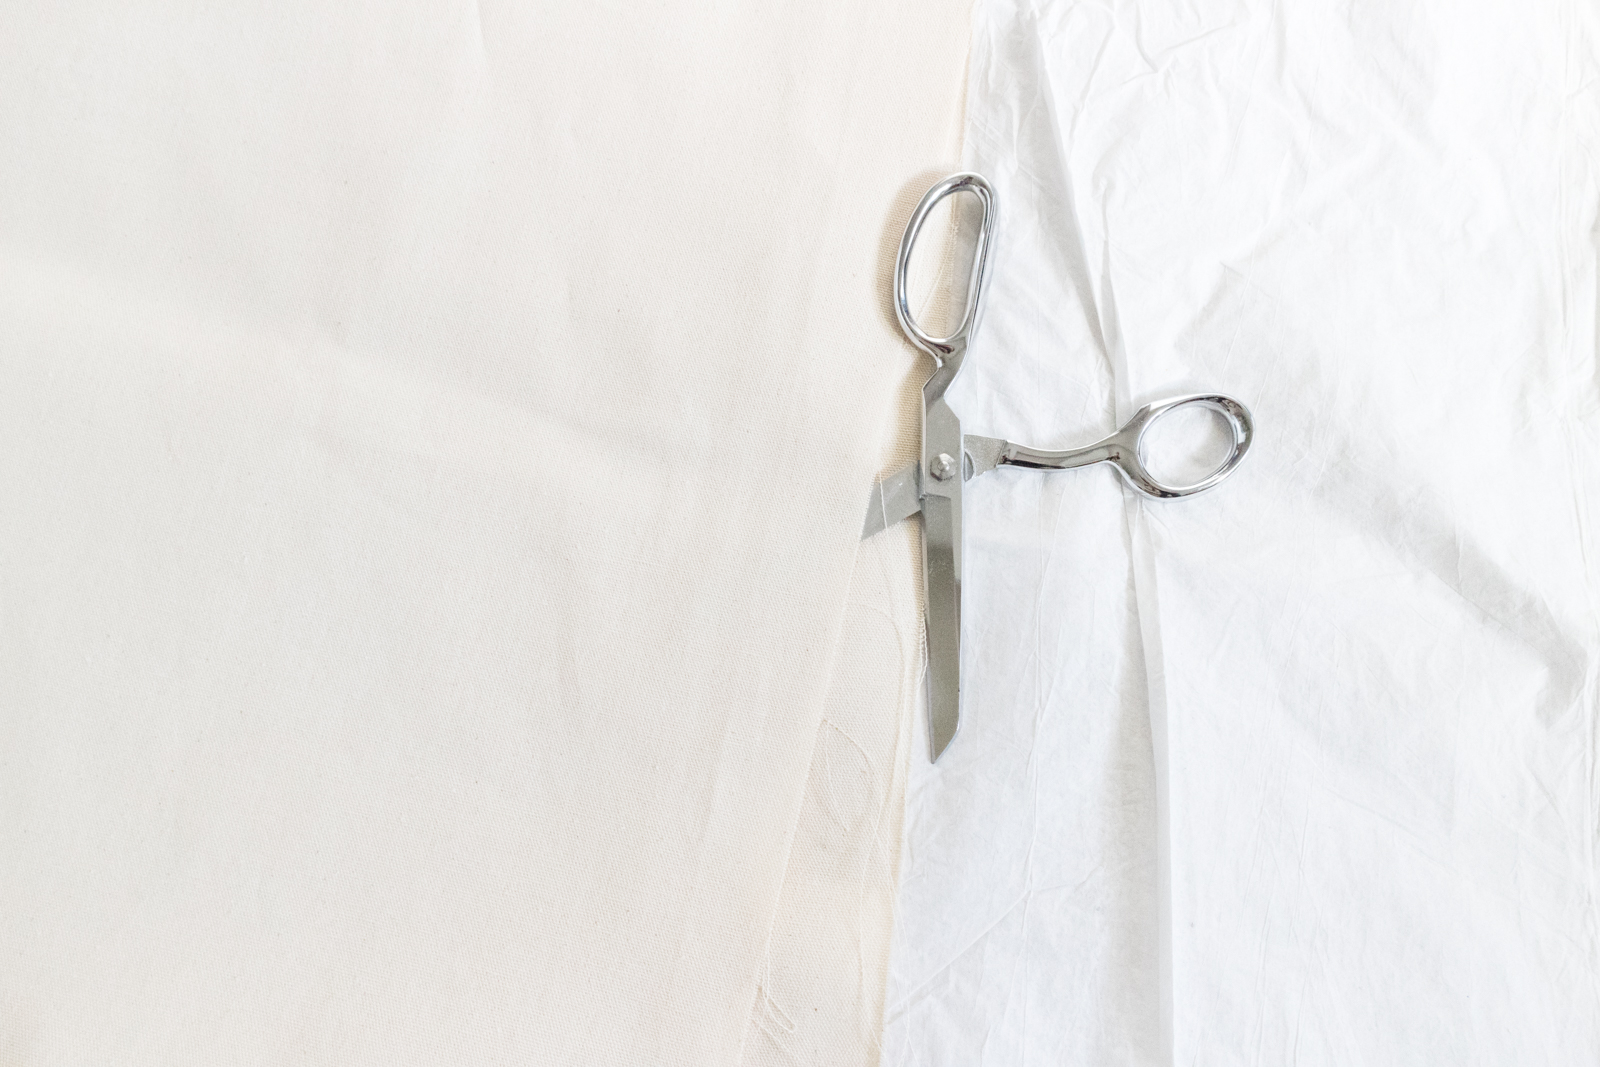
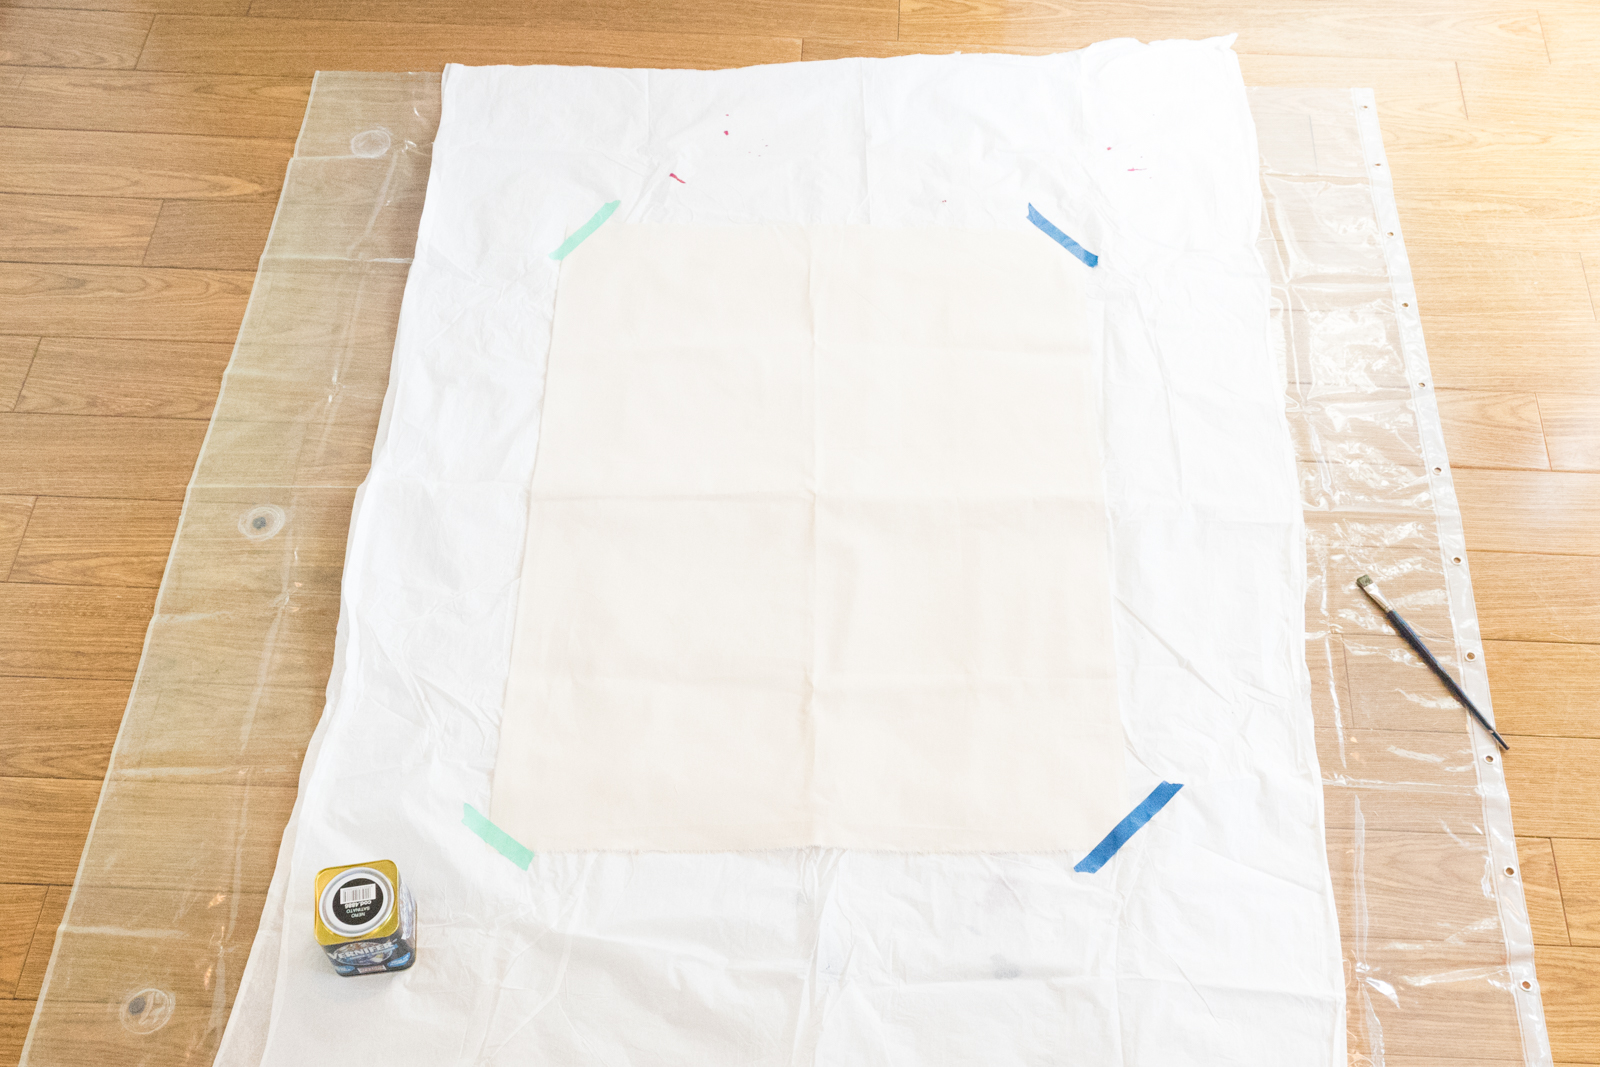
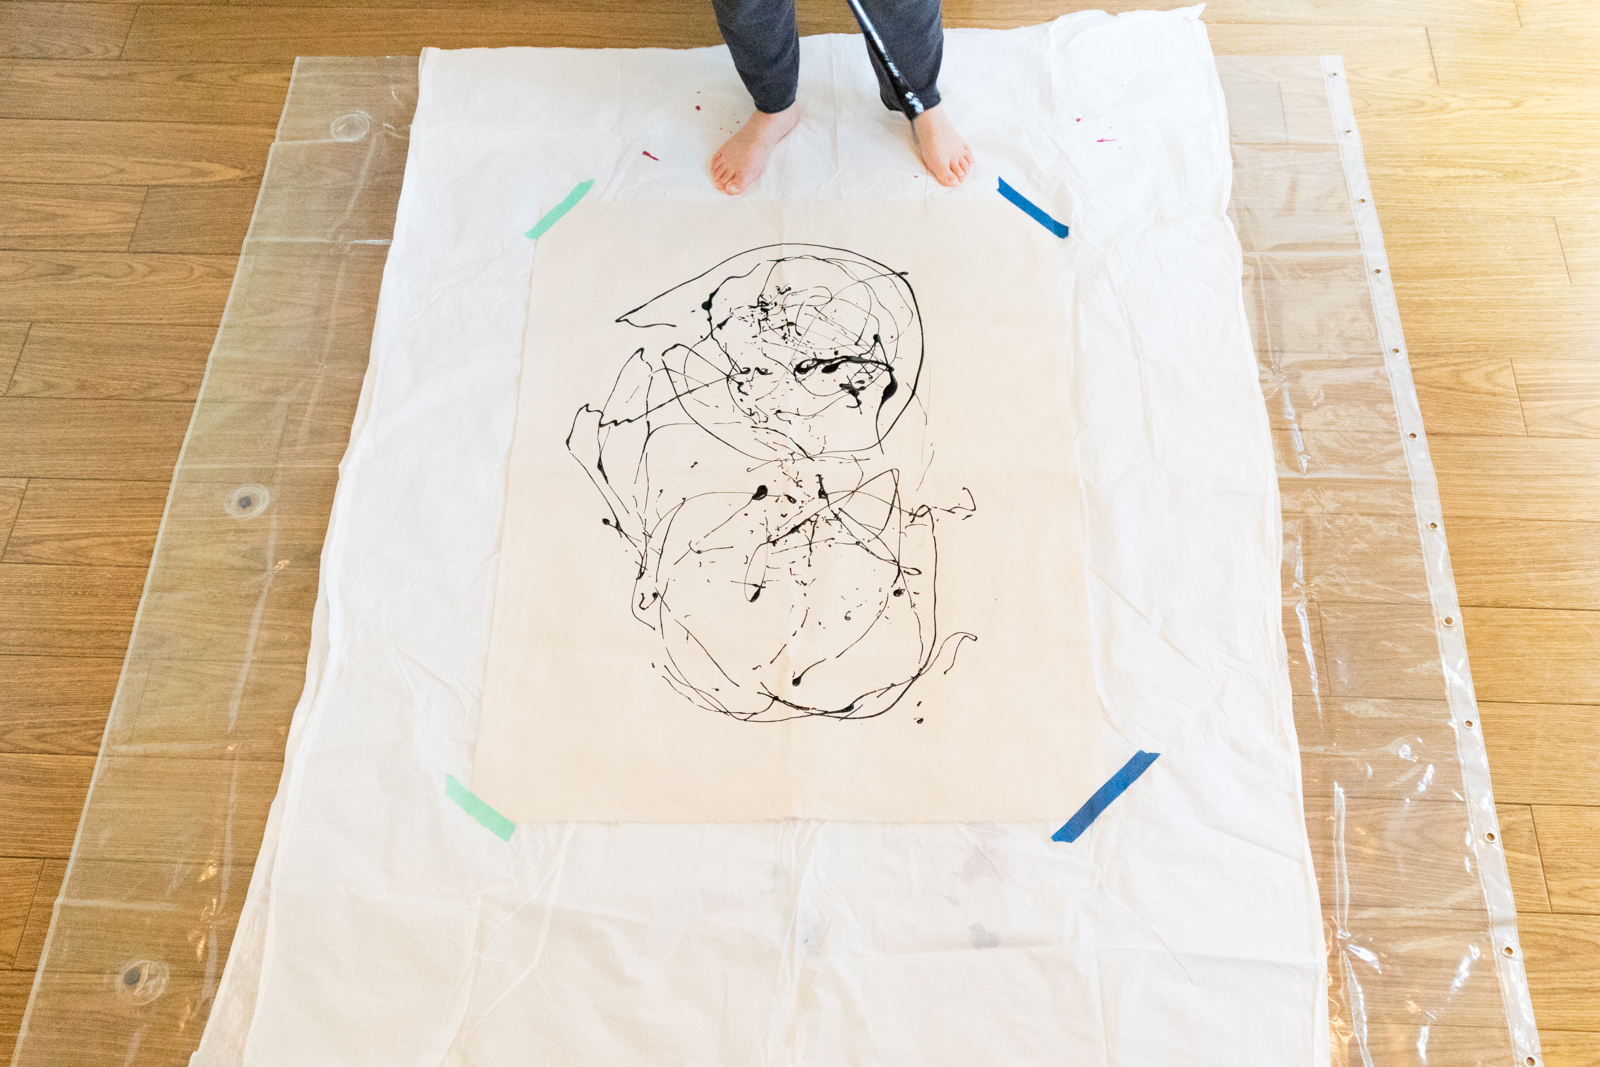
1. Cut a piece of unstretched and unprimed canvas to desired size. Lay out your plastic sheet with the canvas on top in a well ventilated room or outside.
2. Plan your painting. Decide what kind of composition you prefer (figural or abstract). Determine the order of your layers and which colors you want on which layer.
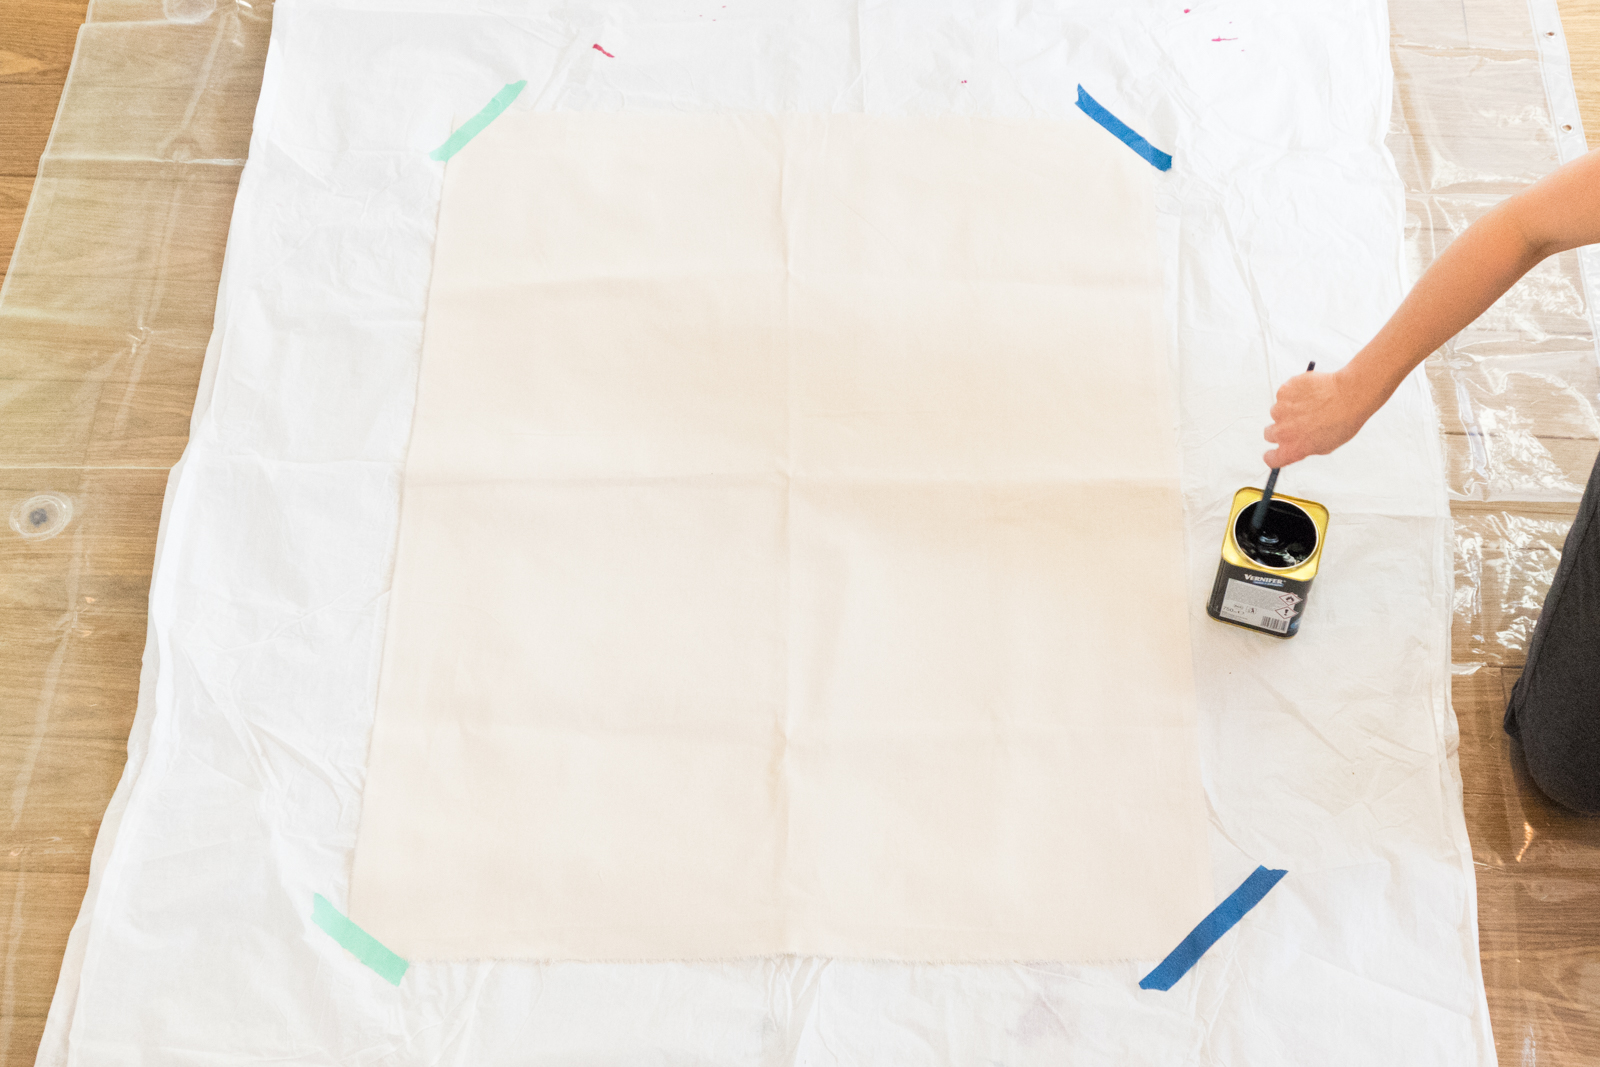
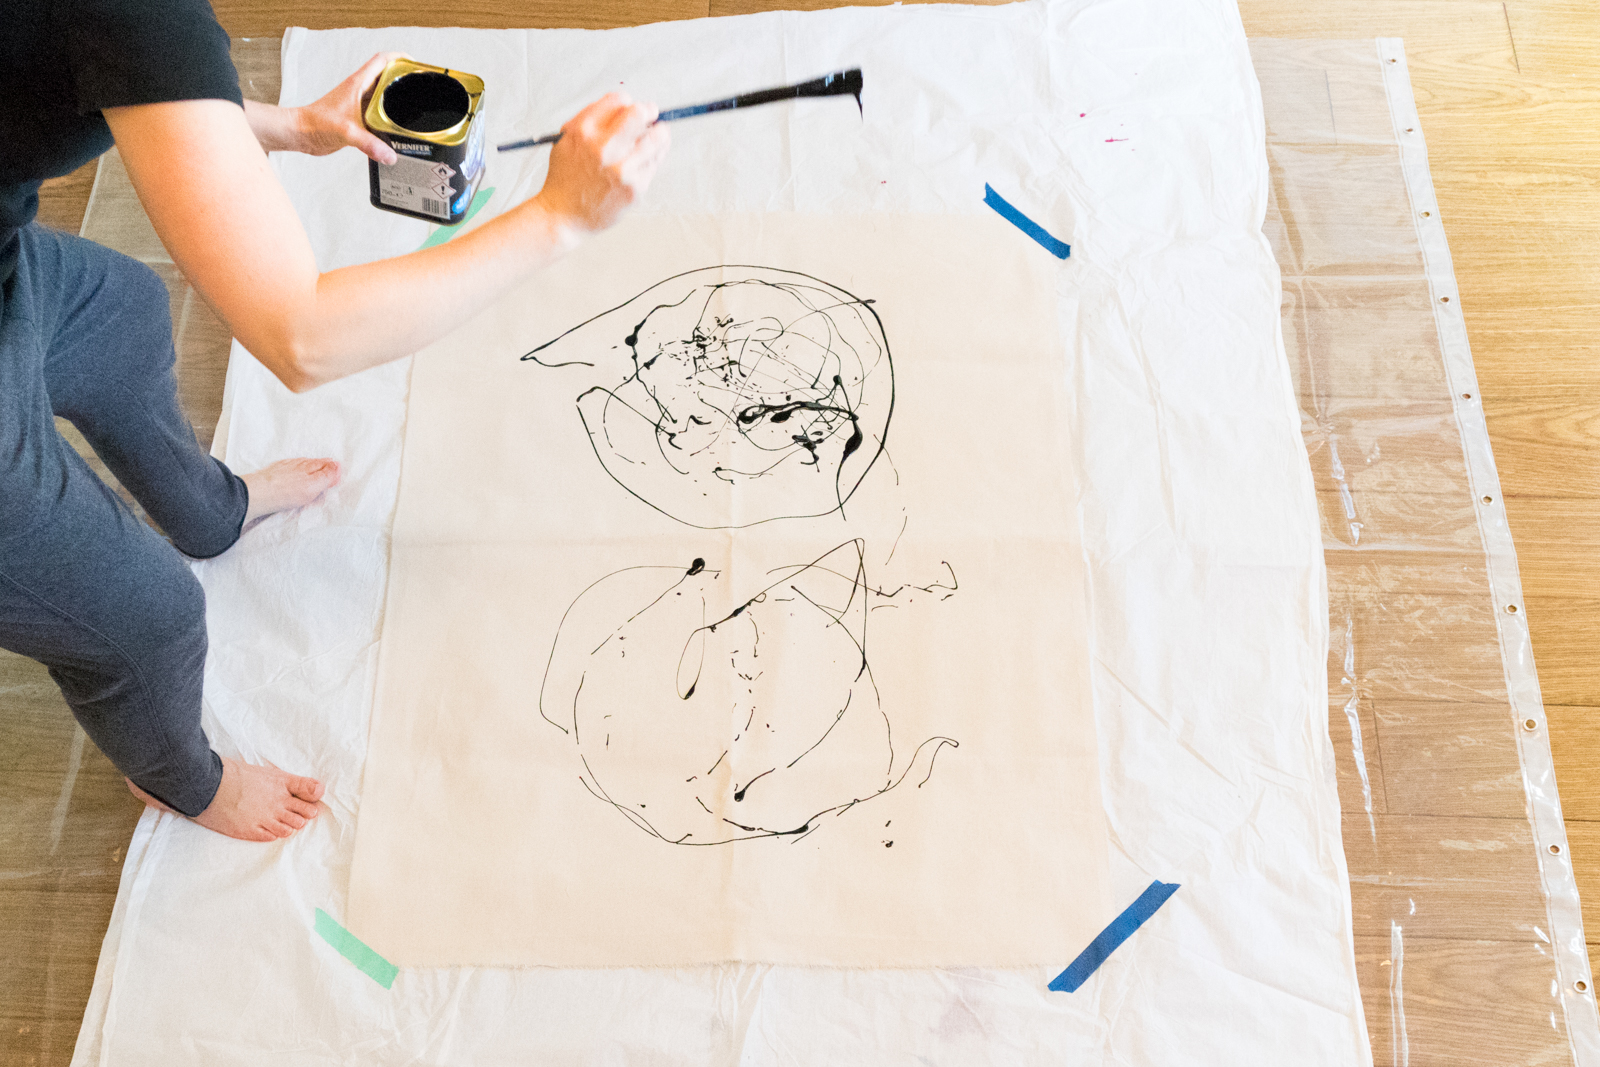
3. Stir your paint. Dip your chosen painting instrument into the industrial paint. Drip the paint onto the canvas, moving to each side of the painting for an “all over” effect.
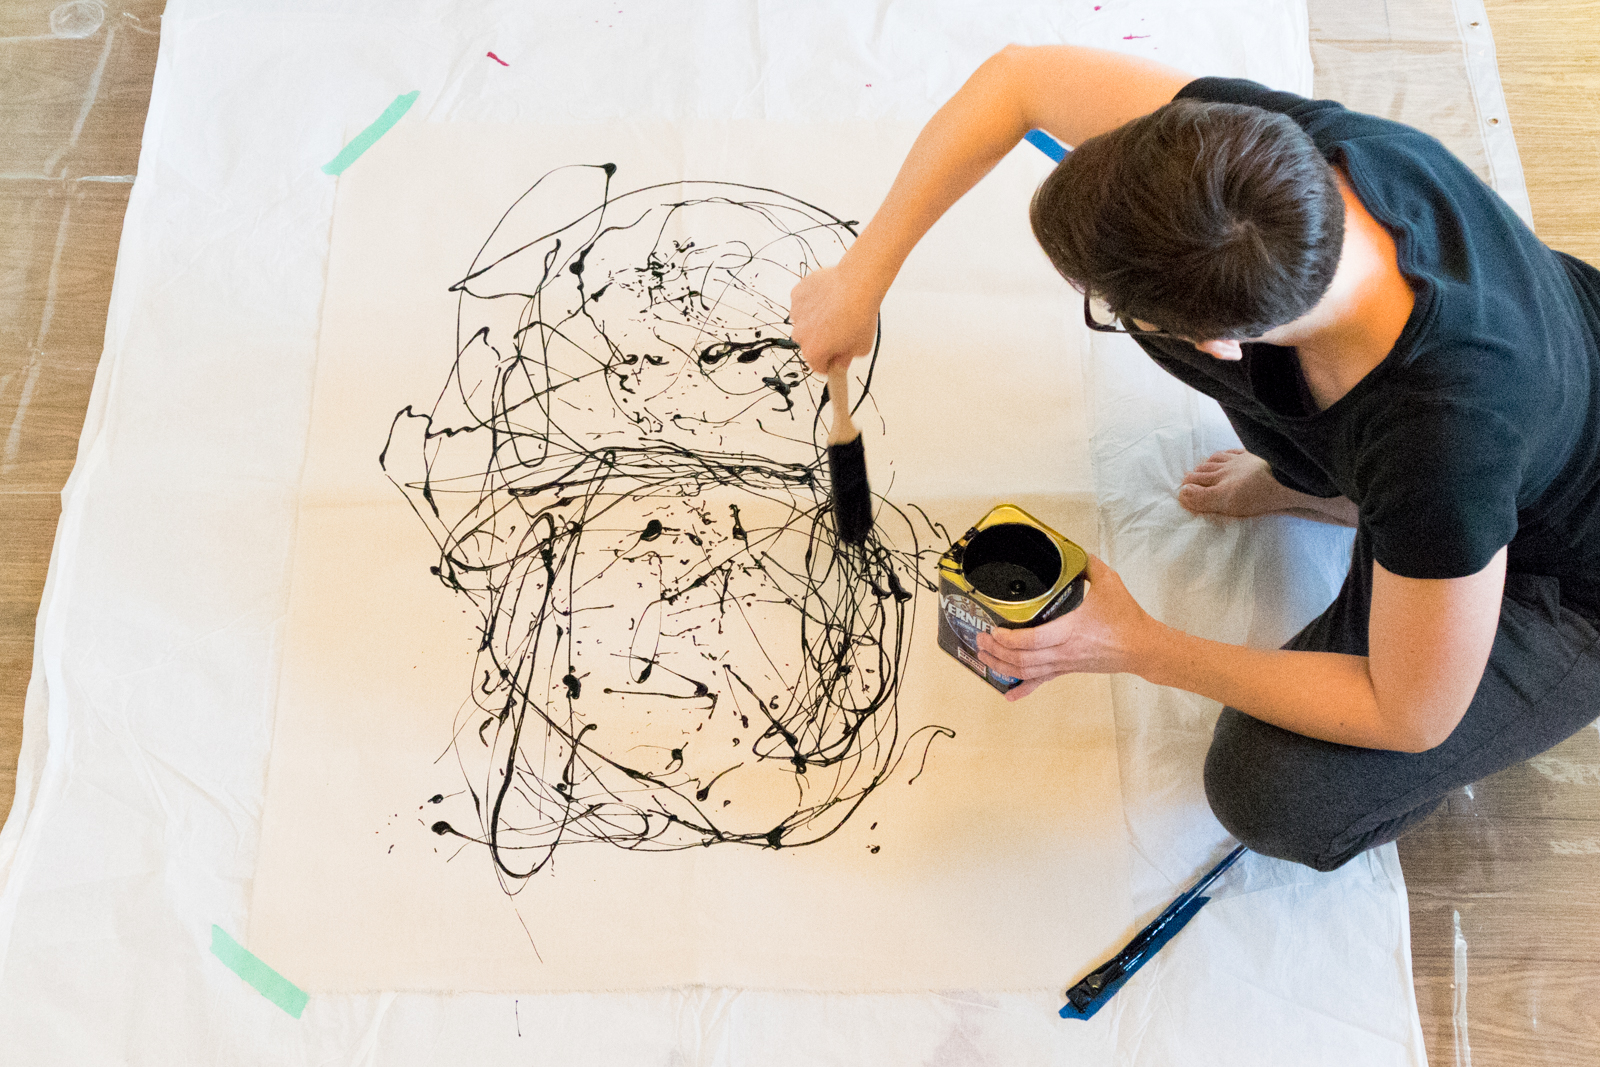
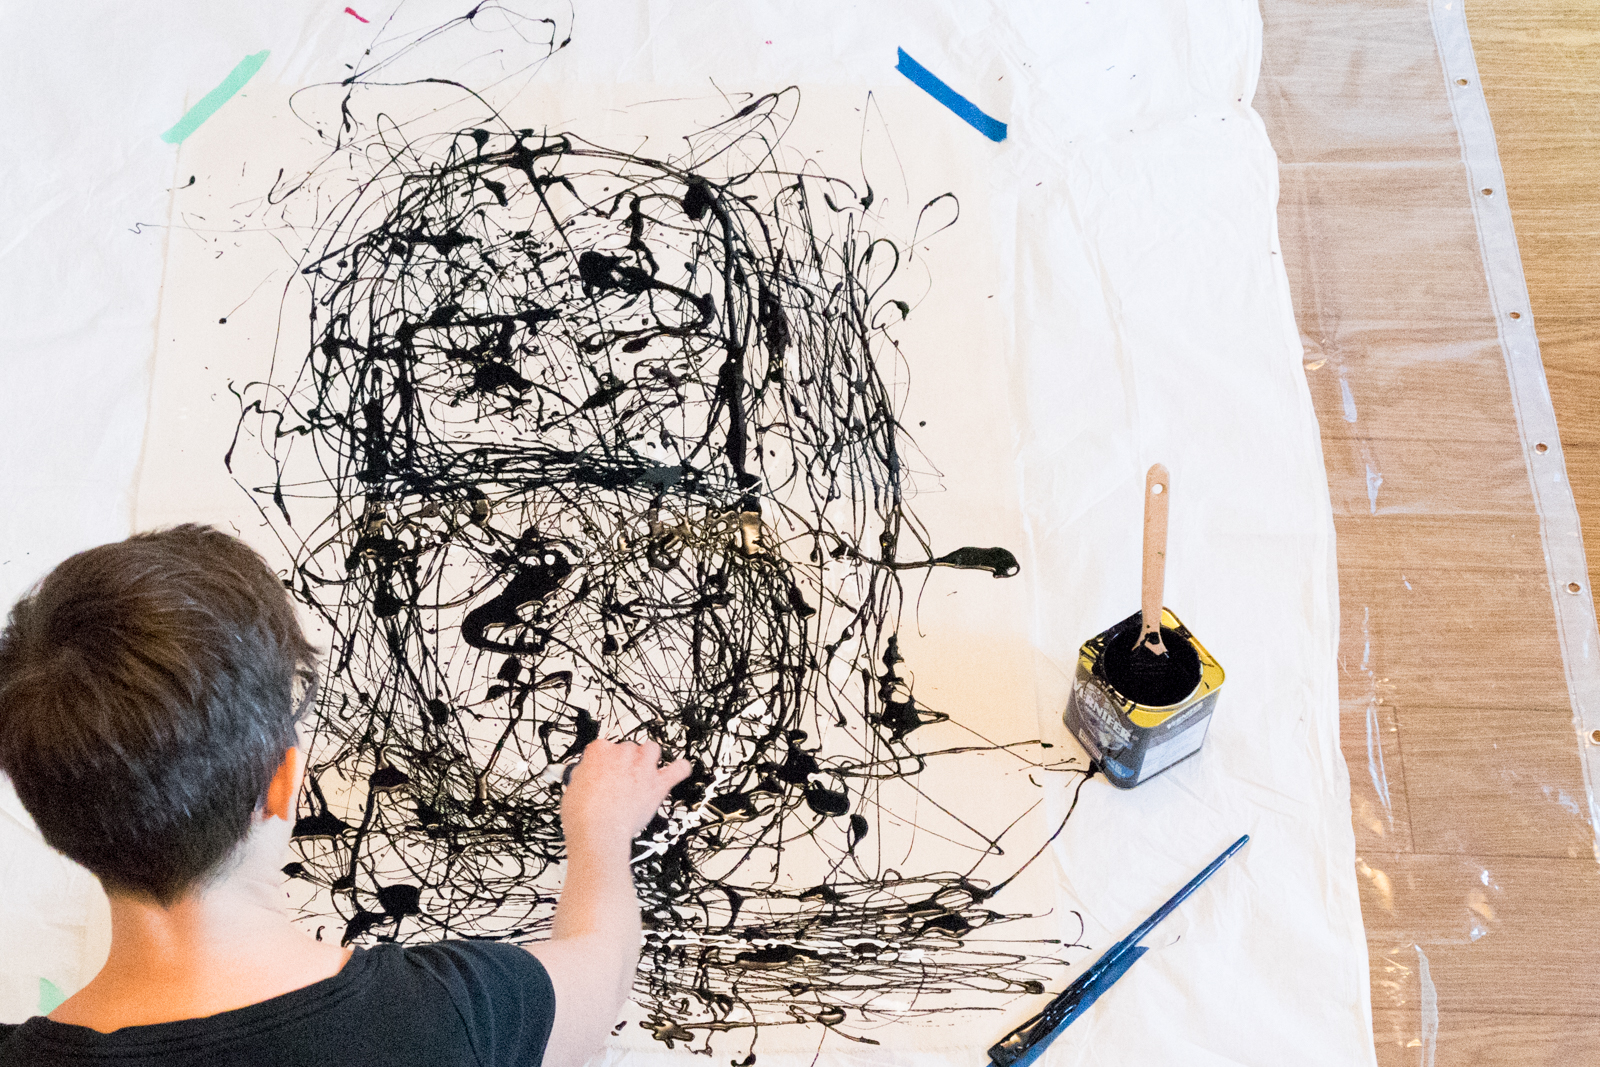
3. Experiment! I wanted my lines wider, so I switched to a 2″ wide paintbrush. I also tried dripping white acrylic paint, which didn’t end up being visible. If you are using more than one color, you may want to wait until the first layer has dried before applying the second layer if you want to avoid the colors running together. Then, apply more paint until you decide you’re done.
5. Once your painting is completely dry, here are instructions for making a frame and stretching a canvas.
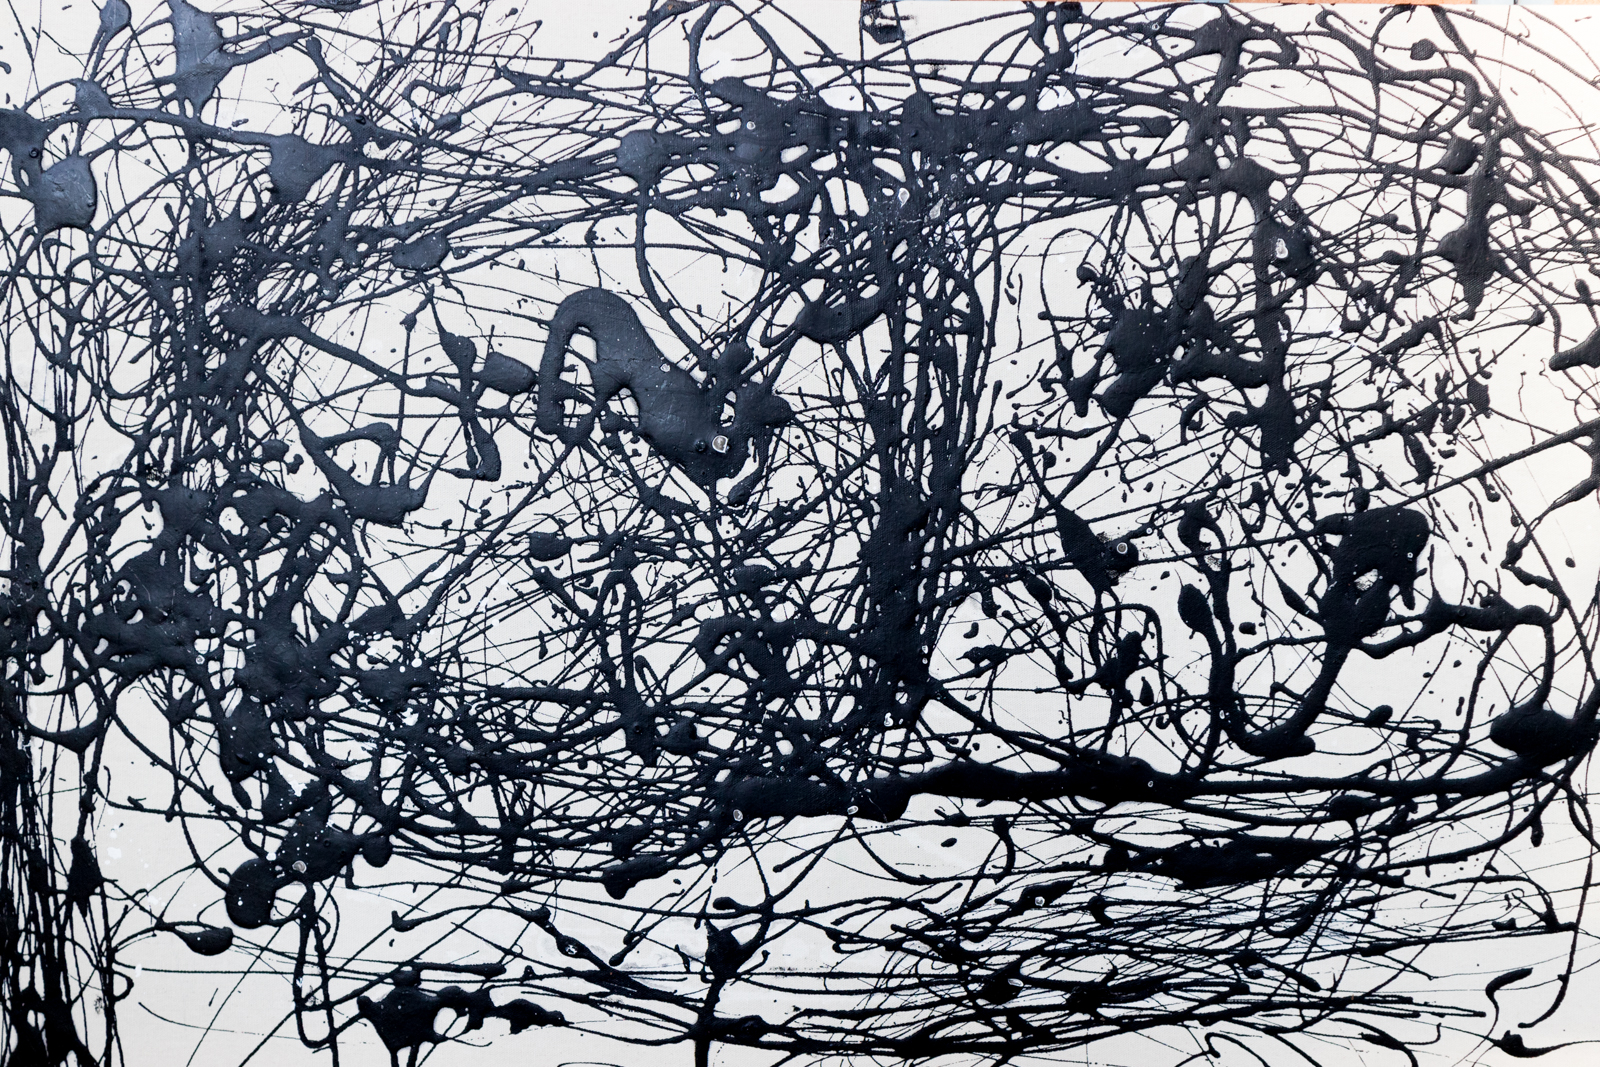
Pollock’s paintings are both planned and spontaneous. Did creating a dip painting feel that way to you?

Excellent! How can I subscribe so I get alerts when you post?
Thank you! A subscription is something I need to work on. I’ll let you know when that is an option!
I love this! I can’t wait to do this with my kiddos.
It really is fun! I would love to see what you create.