Instructions on stretching your own canvas.
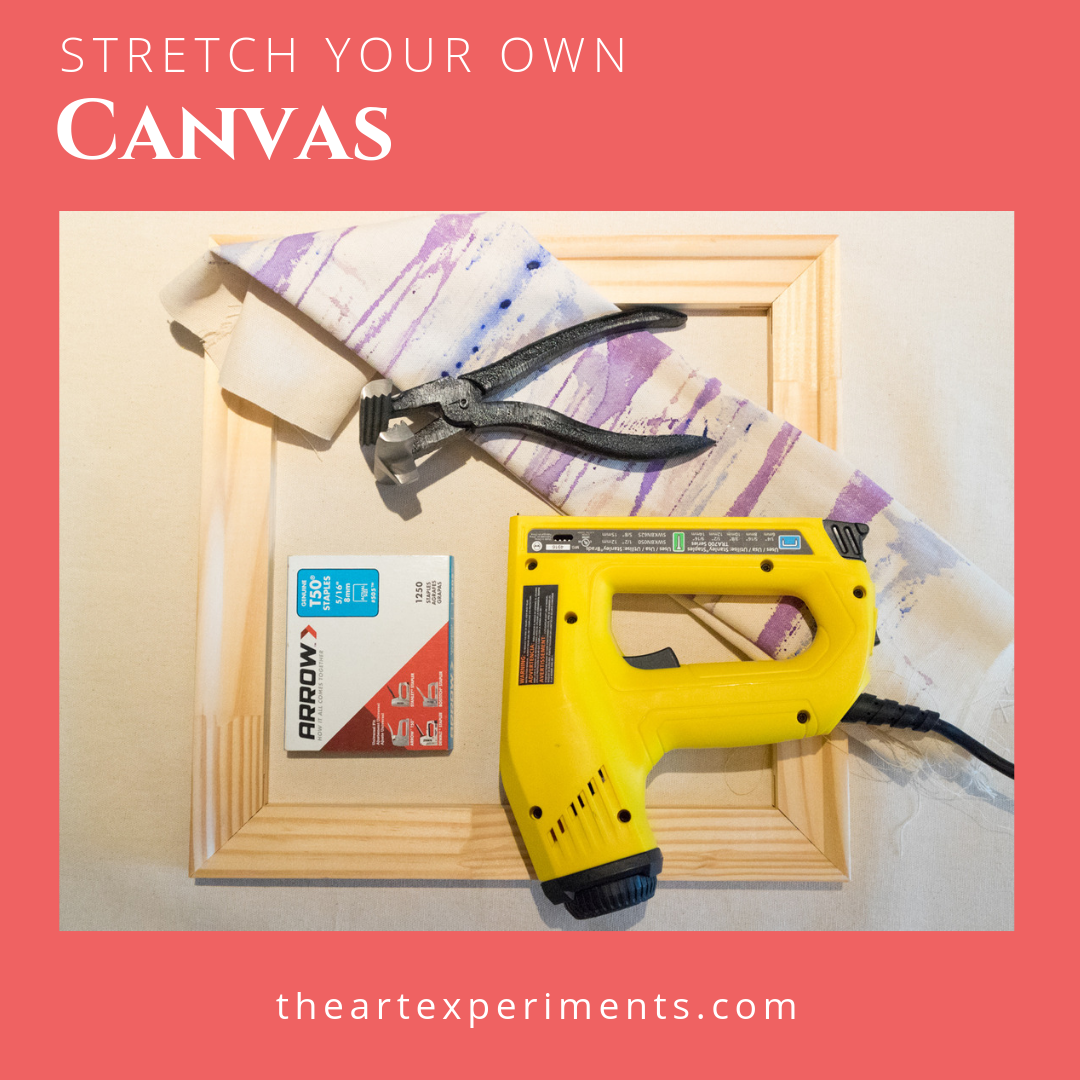
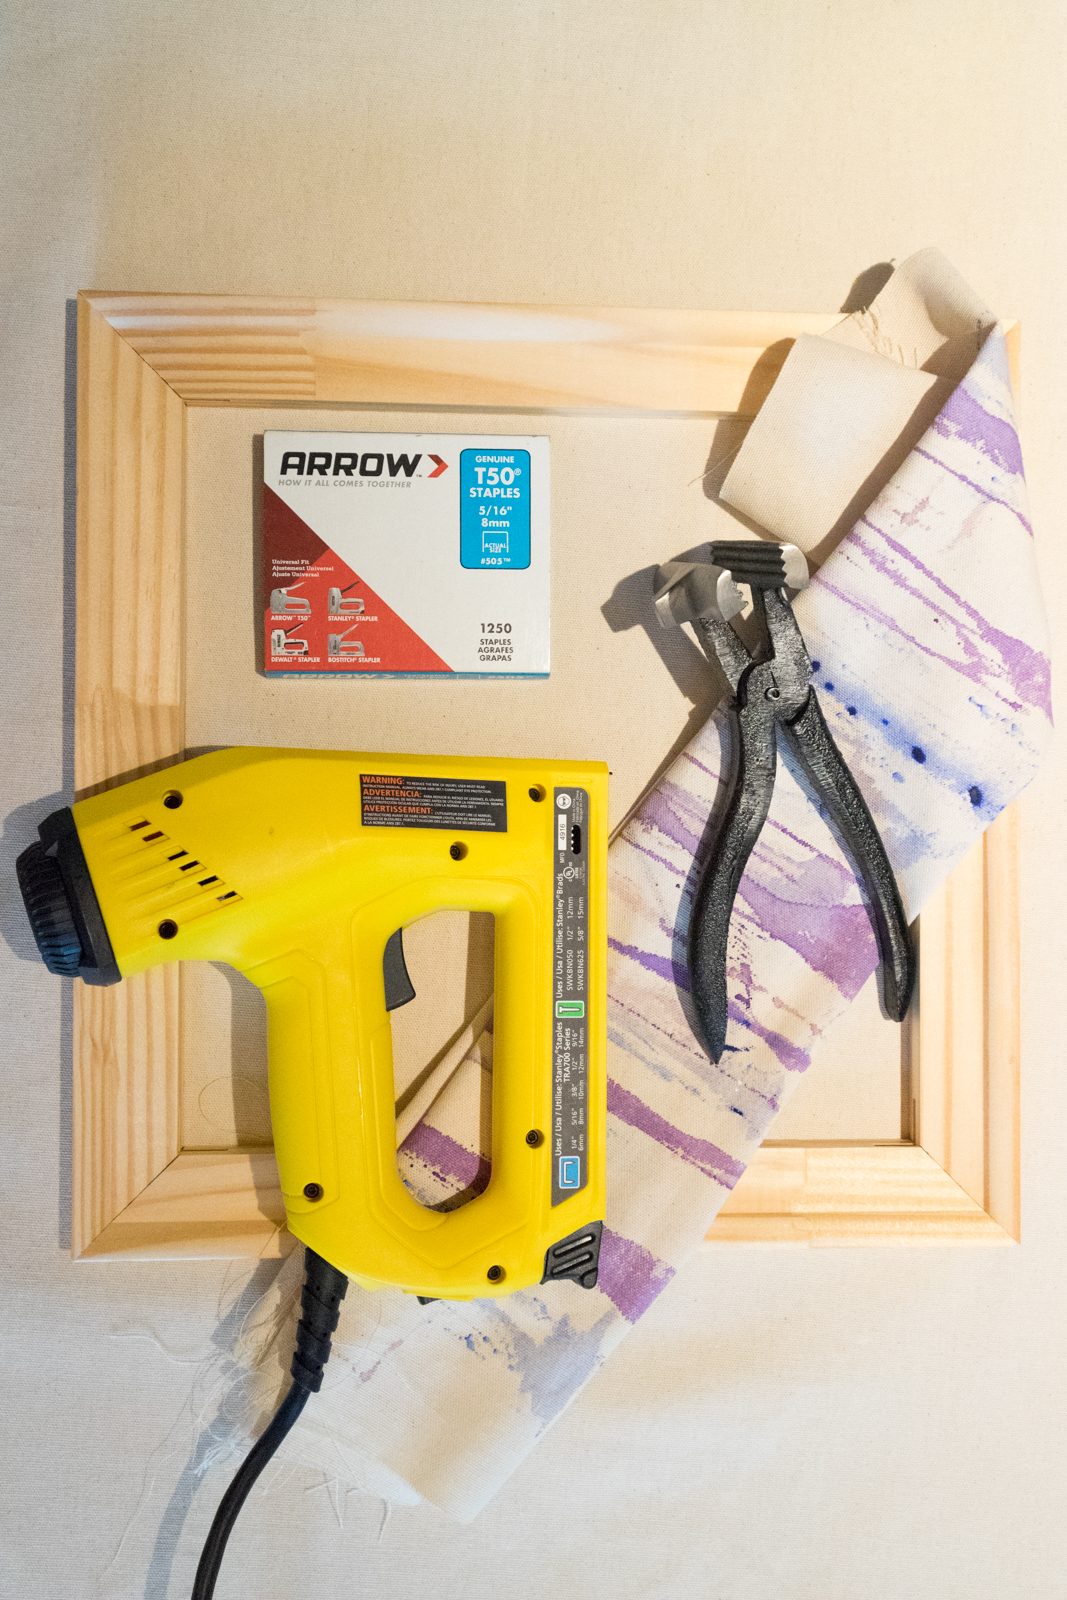
Supplies for Stretching a Canvas:
- Assembled frame
- Painting on canvas
- Canvas Stretching Pliers
- Staple Gun
- Staples
Stretching the Canvas:
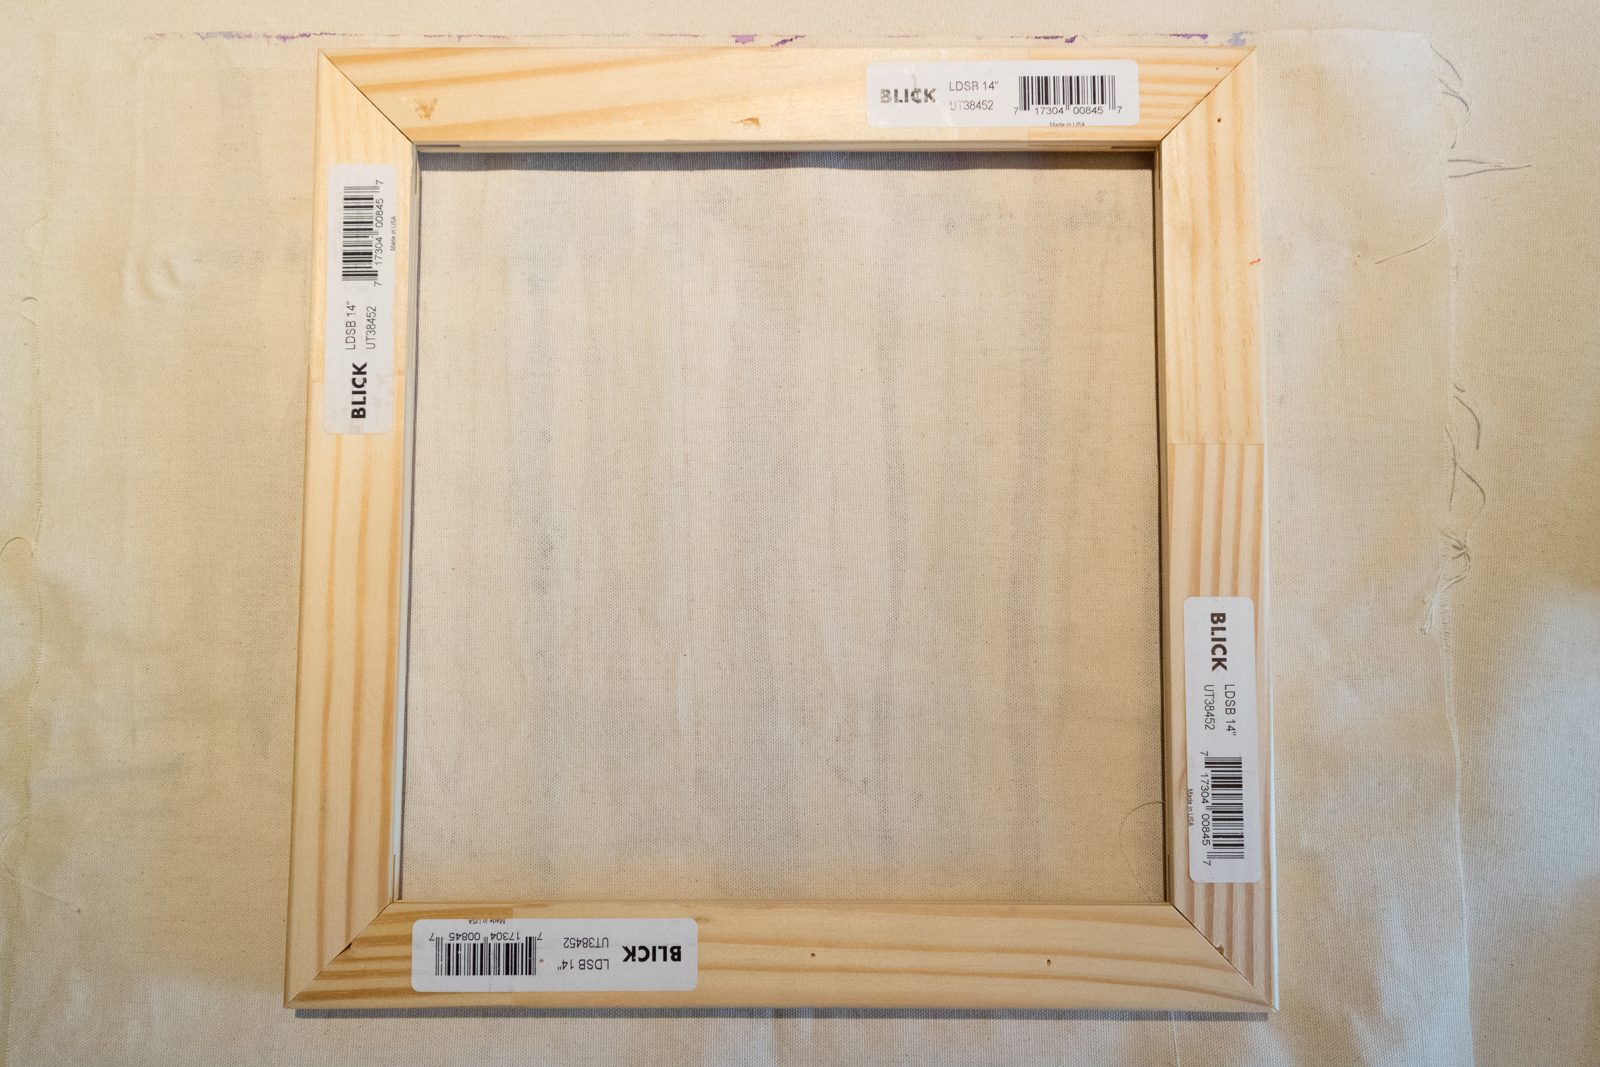
1. Lay the frame on the table face up and the painted canvas on top of the frame face up. Determine what part of your canvas you want to be visible (sometimes Louis did multiple paintings on one large canvas and then cut the canvas into pieces for multiple paintings). If there is a portion of the painting you like best, be sure to make that part visible. You can always make a smaller or larger frame if you find that suits your painting better. Some of Louis’s paintings are stretched so the portion where he poured the paint is visible as well as where the paint pooled at the bottom of the painting. In some of his paintings, they are stretched so those portions aren’t visible.
2. Flip your painting with the frame over so the front of the canvas is on the table and the frame is on top. Wrap the canvas to the back of the frame.
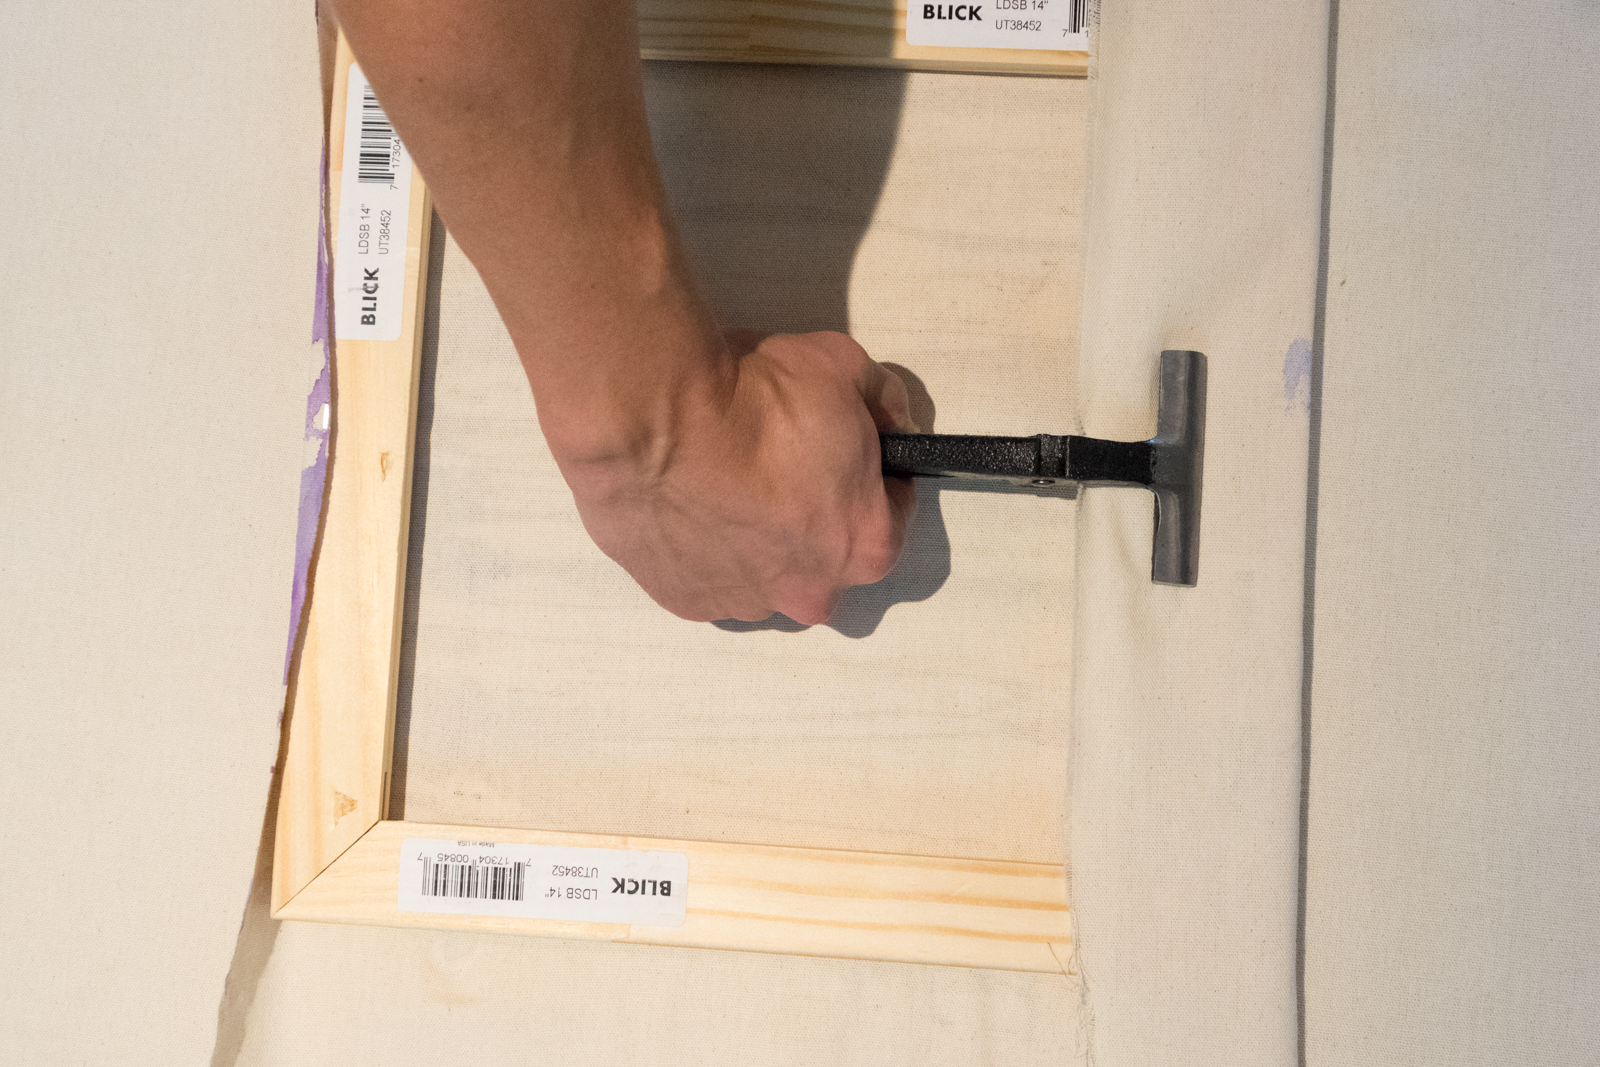
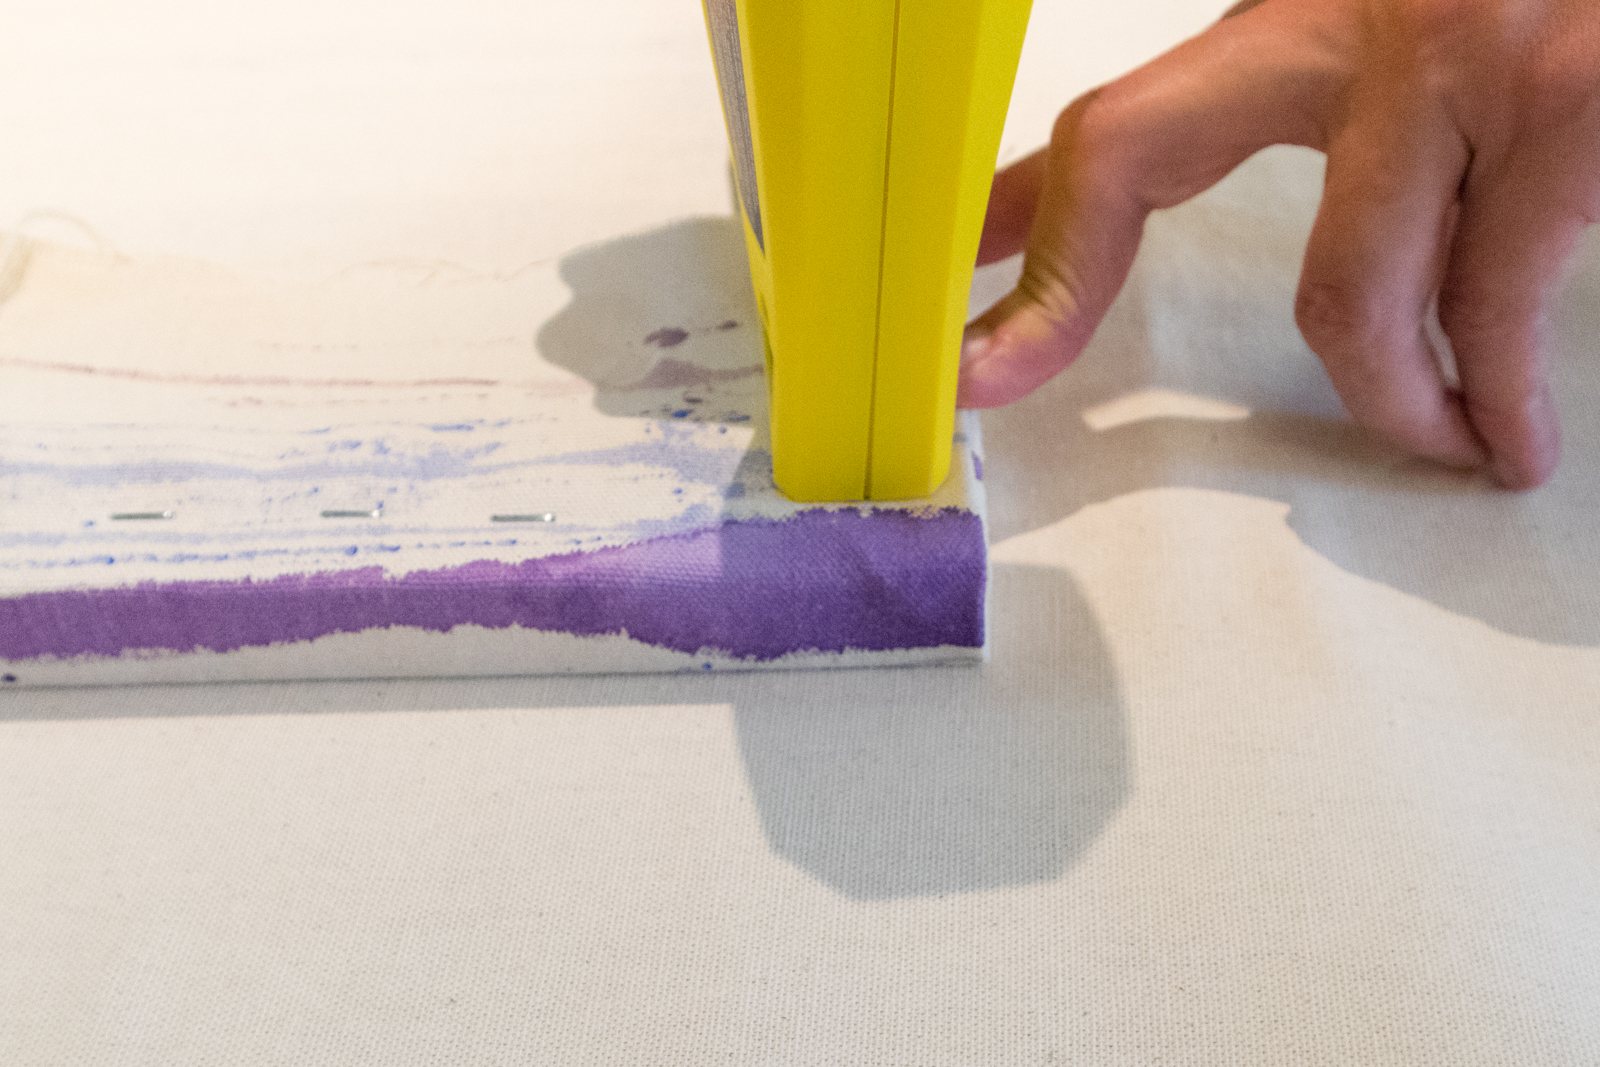
3. On one side of the back of the frame, staple a small section of the middle of the canvas to the middle of the frame. Hold the canvas taut with the stretching pliers on the opposite side of the canvas and put in a few staples in the center of that side of the frame and canvas. Continue stapling one side of the frame and then balancing that with staples on the opposite side of the frame. Repeat on the adjacent sides of the frame. Leave some space on each corner.
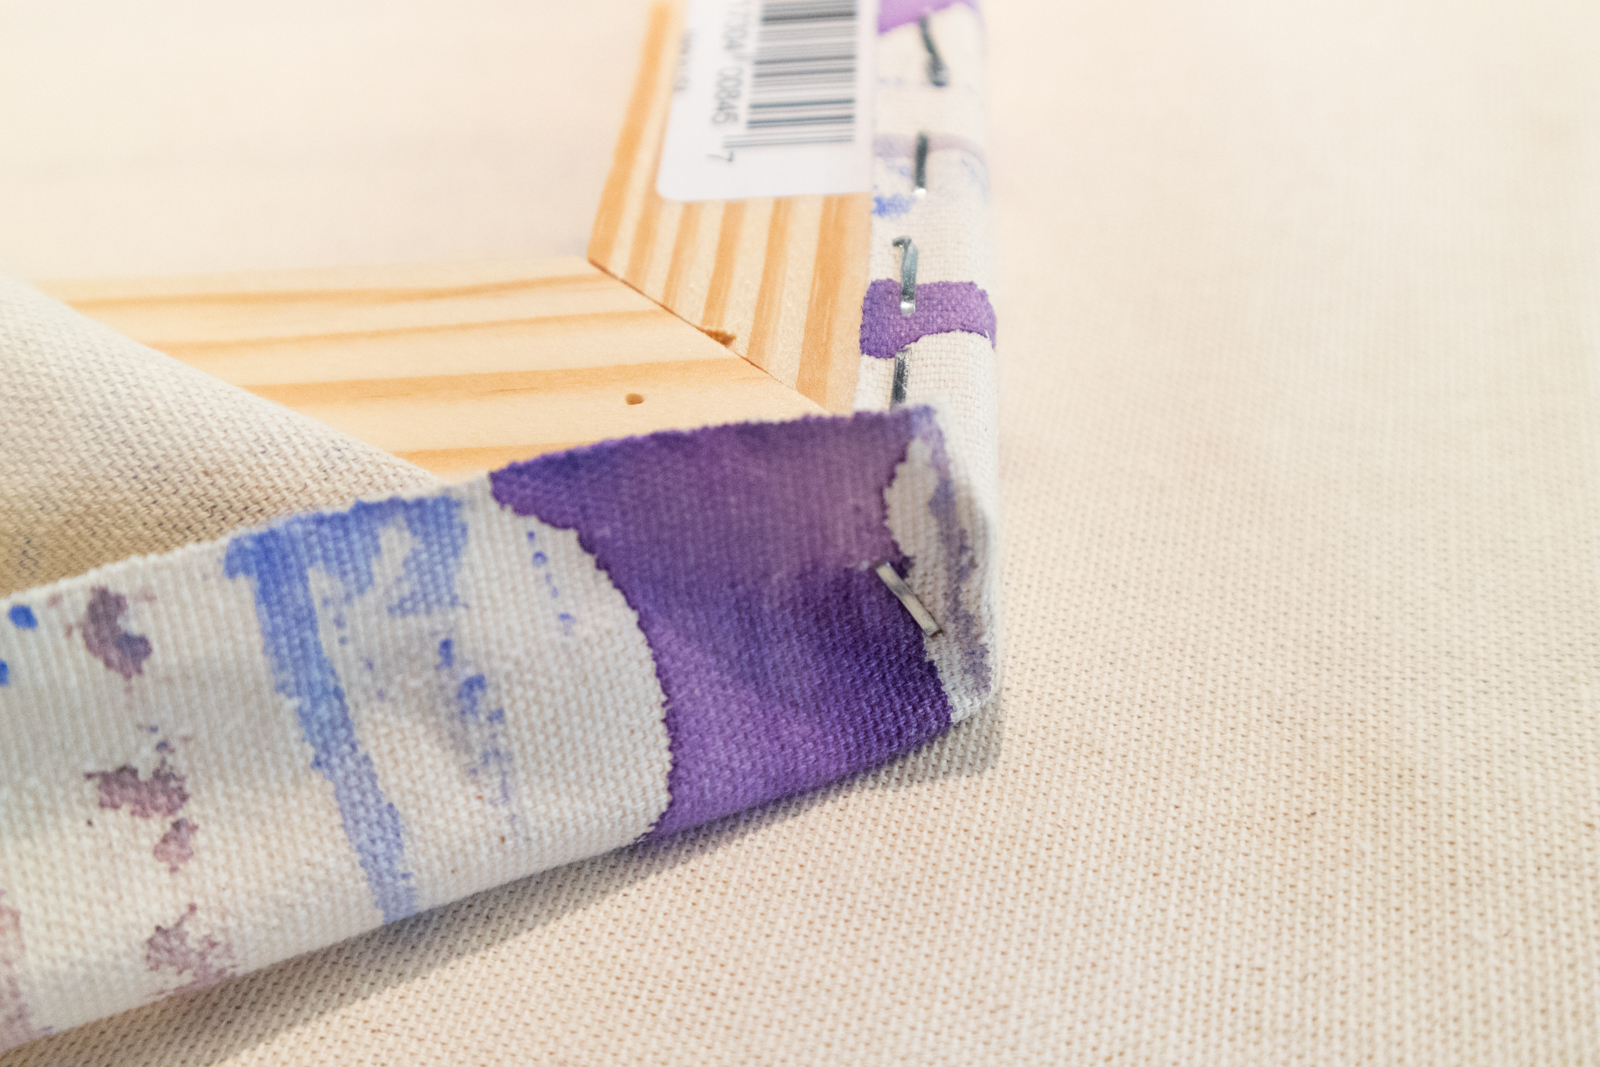
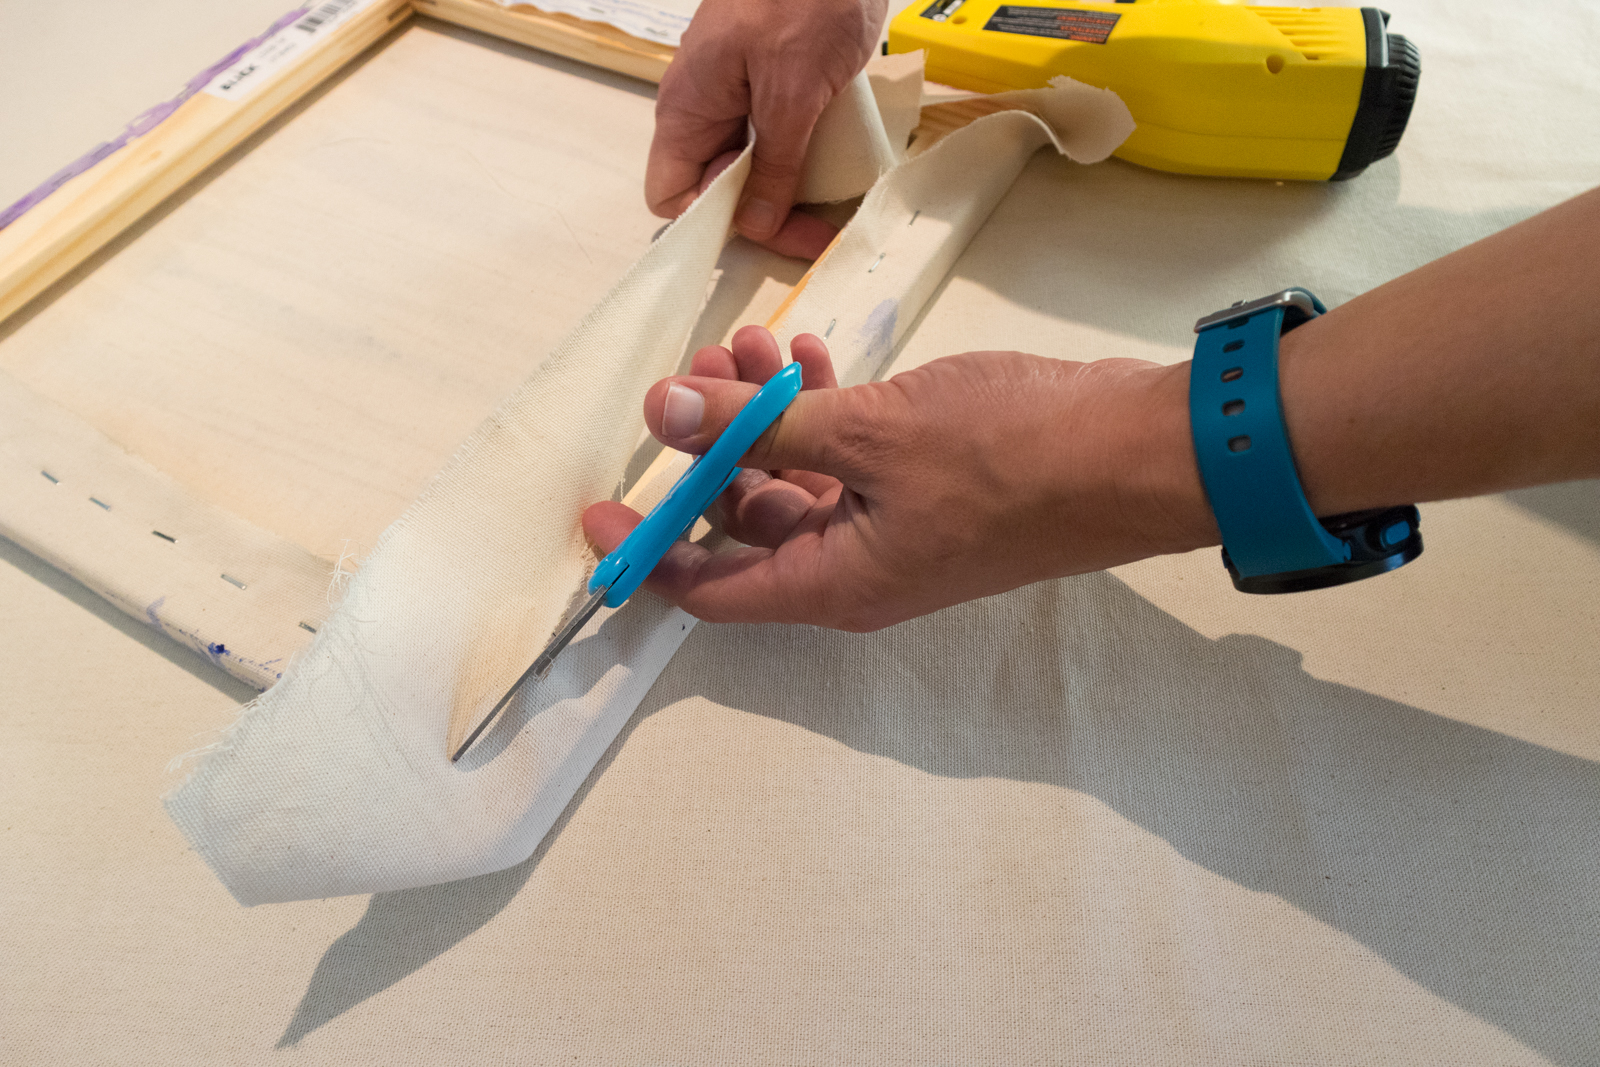
4. On one side of the back of the frame, staple to the edge of the frame. Pull the canvas tight around the corner and place one staple on the side where it will be covered when the adjacent fabric is pulled to the back. Pull the adjacent fabric to the back (kind of like tucking in sheets in the bottom corners of a bed) of the frame and staple. Trim excess fabric.
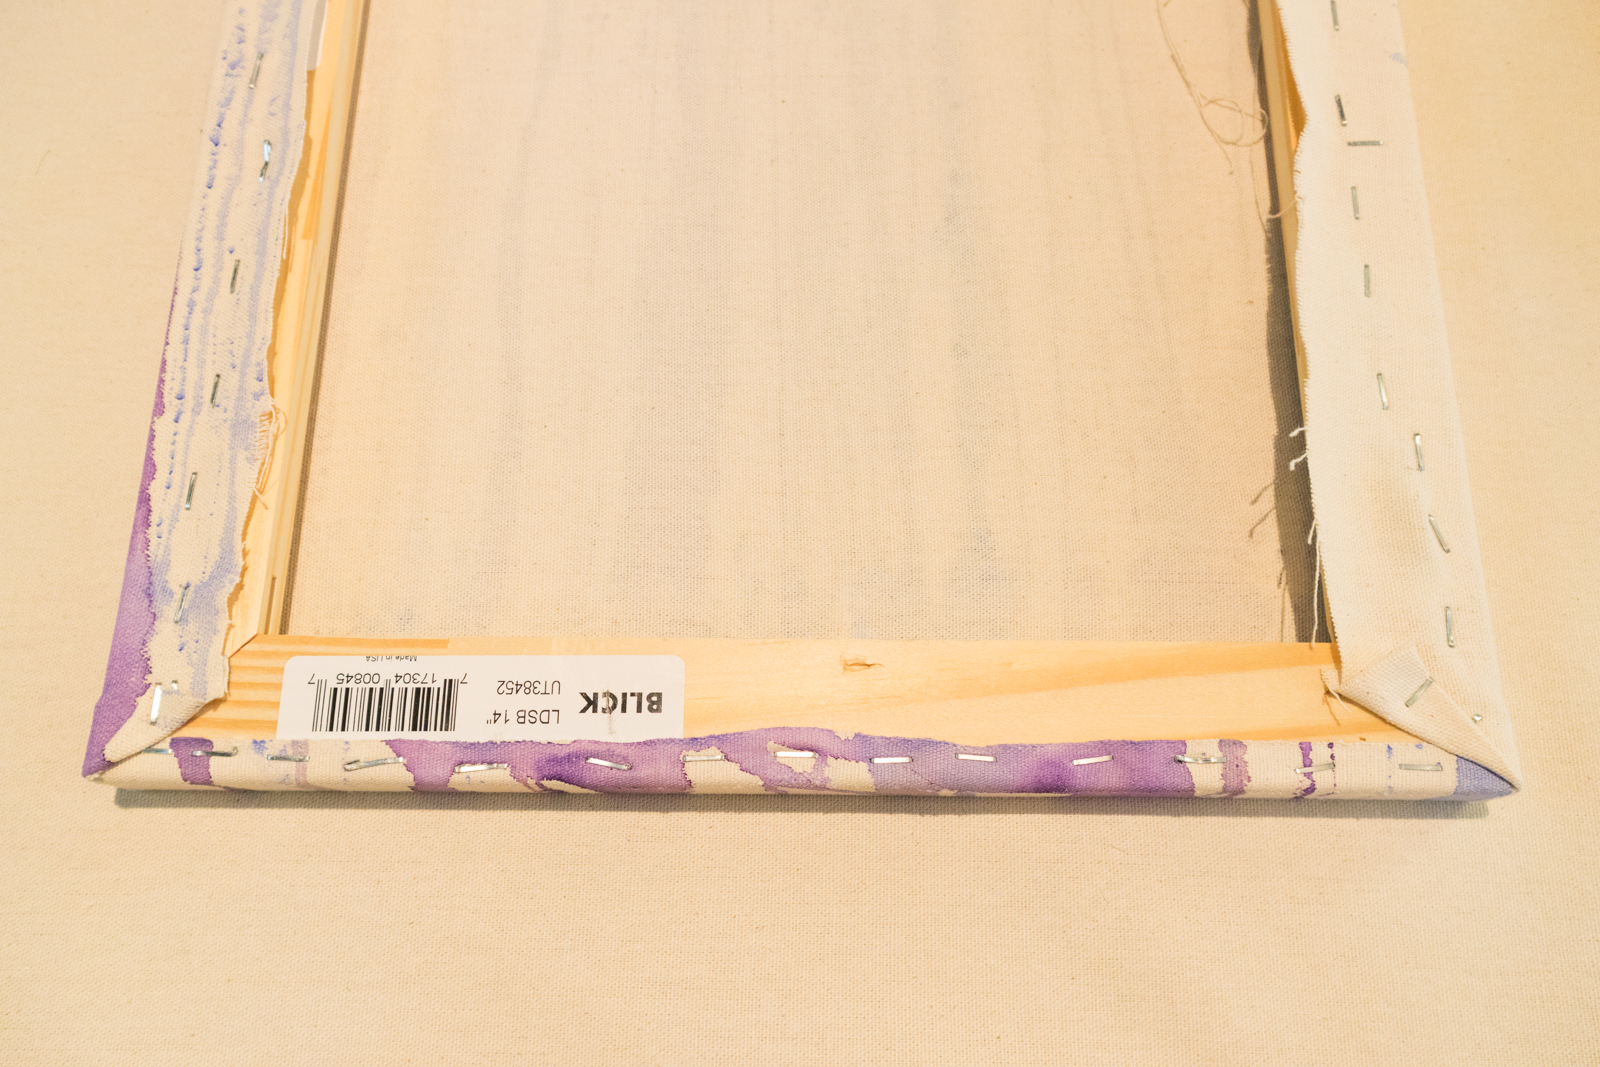
5. So that the edge of the fabric doesn’t go over the edge of the frame, fold the fabric back and staple it. Repeat on the other corners.







Leave A Comment